How to crop images
LocalGov Drupal uses a number of preset image styles to appropriately resize an image for uses across the site. An an editor you have a certain amount of control over the crop of an image that the site uses.
Cropping a image as it is uploaded
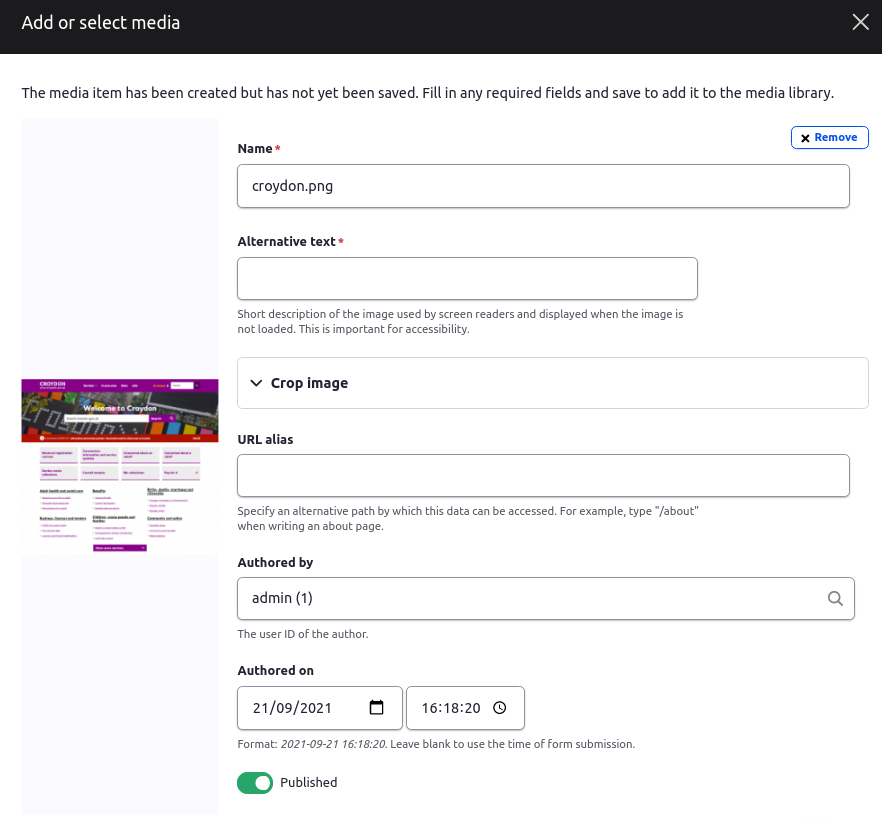
When you upload a new image (either through an image field or via the WYSIWYG) you will see a dialogue box which will require you to provide alternative text, and allow you to set up the image crops.
Step 1: Upload a new image
Step 2: Add appropriate alternative text
Step 3: Click the Crop image heading to expose the cropping interface.
Step 4: Set crops
You'll see six cropping options
- 16:9 - todo - where is this used?
- 28:9 - used for banners in subsites
- 3:2 - available as an option within the WYSIWYG
- 7:3 - available as an option within the WYSIWYG
- 8:7 - available as an option within the WYSIWYG
- Square - available as an option within the WYSIWYG
Click and drag the blue square to position the crop area over the part of the image you would like to keep.
You can rezise the crop area by dragging the corners of the blue square outline.

You will see the words "Cropping applied" next to the crop stlye names once a crop has been set.
If you do not set a crop a crop will be taken from the default (center) position of the image.
Step 5. Save
Editing the crop of an image
Navigate to the Media Overview at /admin/content/media
Locate the image you wish to edit and click Edit.
Follow Steps 4 and 5 above.
Beware that you may be editting an image that is in use elsewhere in the site. If you need a differently cropped version of the image you will need to upload a new version.