Working with DDEV
DDEV-Prerequisites
DDEV is an open-source tool for launching local web development environments in minutes. These environments can be extended, version controlled, and shared, so you can take advantage of a Docker workflow without Docker experience or bespoke configuration. Projects can be changed, powered down, or removed as easily as they’re started.
The official DDEV requirements page offers detailed information on the prerequisites that should be in place but, generally speaking, here's a list of minimum requirements for DDEV:
- Recent OS version
- RAM: 8GB
- Storage: 256GB
Optional: You can delete the .lando.dist.yml file in the project’s root, as it is redundant when using DDEV instead of Lando.
There are multiple ways of installing DDEV locally, mainly depending on your Operating System. Make sure you go through the official DDEV installation page if your OS is not covered below.
Installing DDEV on Mac OS
DDEV on Mac OS using Homebrew
Homebrew is a popular package manager for Mac OS and Linux - it basically brings packages into your machine in an organised manner. It controls and manages their dependencies and versions (similar to Composer). To install Homebrew locally:
/bin/bash -c "$(curl -fsSL https://raw.githubusercontent.com/Homebrew/install/HEAD/install.sh)"
With Homebrew in place, run the following to install DDEV:
brew install ddev/ddev/ddev
You can confirm that DDEV is in place by checking its installed version:
ddev -v
DDEV on Mac OS using Curl
To download and run the install script, run the following in your Terminal:
curl -fsSL https://ddev.com/install.sh | bash
Installing DDEV on Windows
You can install DDEV on Windows in three ways:
- Using WSL2 with Docker inside
- Using WSL2 with Docker Desktop
- Installing directly on traditional Windows with an installer
DDEV strongly recommends using WSL2. While its Linux experience may be new for some Windows users, it’s worth the performance benefit and common experience of working with Ubuntu and Bash. You can follow the official DDEV Windows installation steps to install DDEV using WSL2 with Docker Desktop.
Installing DDEV on Linux
You can use Homebrew or the curl install script in most instances, as described in the Mac OS installation instructions above. On the [official DDEV Linux installation page](https://ddev.readthedocs.io/en/latest/users/install/ddev-installation/#linux, there are more installation ways listed for some Linux and Ubuntu distributions.
Installing LocalGov Drupal locally with Composer and DDEV
If you haven't yet installed Composer and Docker Desktop, see Getting Started for instructions on how to install these requirements.
Now that we have all the required dependencies in place (Composer, Docker Desktop and DDEV), we can create our first LocalGov Drupal project locally.
Open your Command Prompt/Terminal/Shell and switch to an appropriate directory (for example, on Mac OS X, the ~/Sites folder is usually preferred):
cd ~/Sites
1. Creating the Project
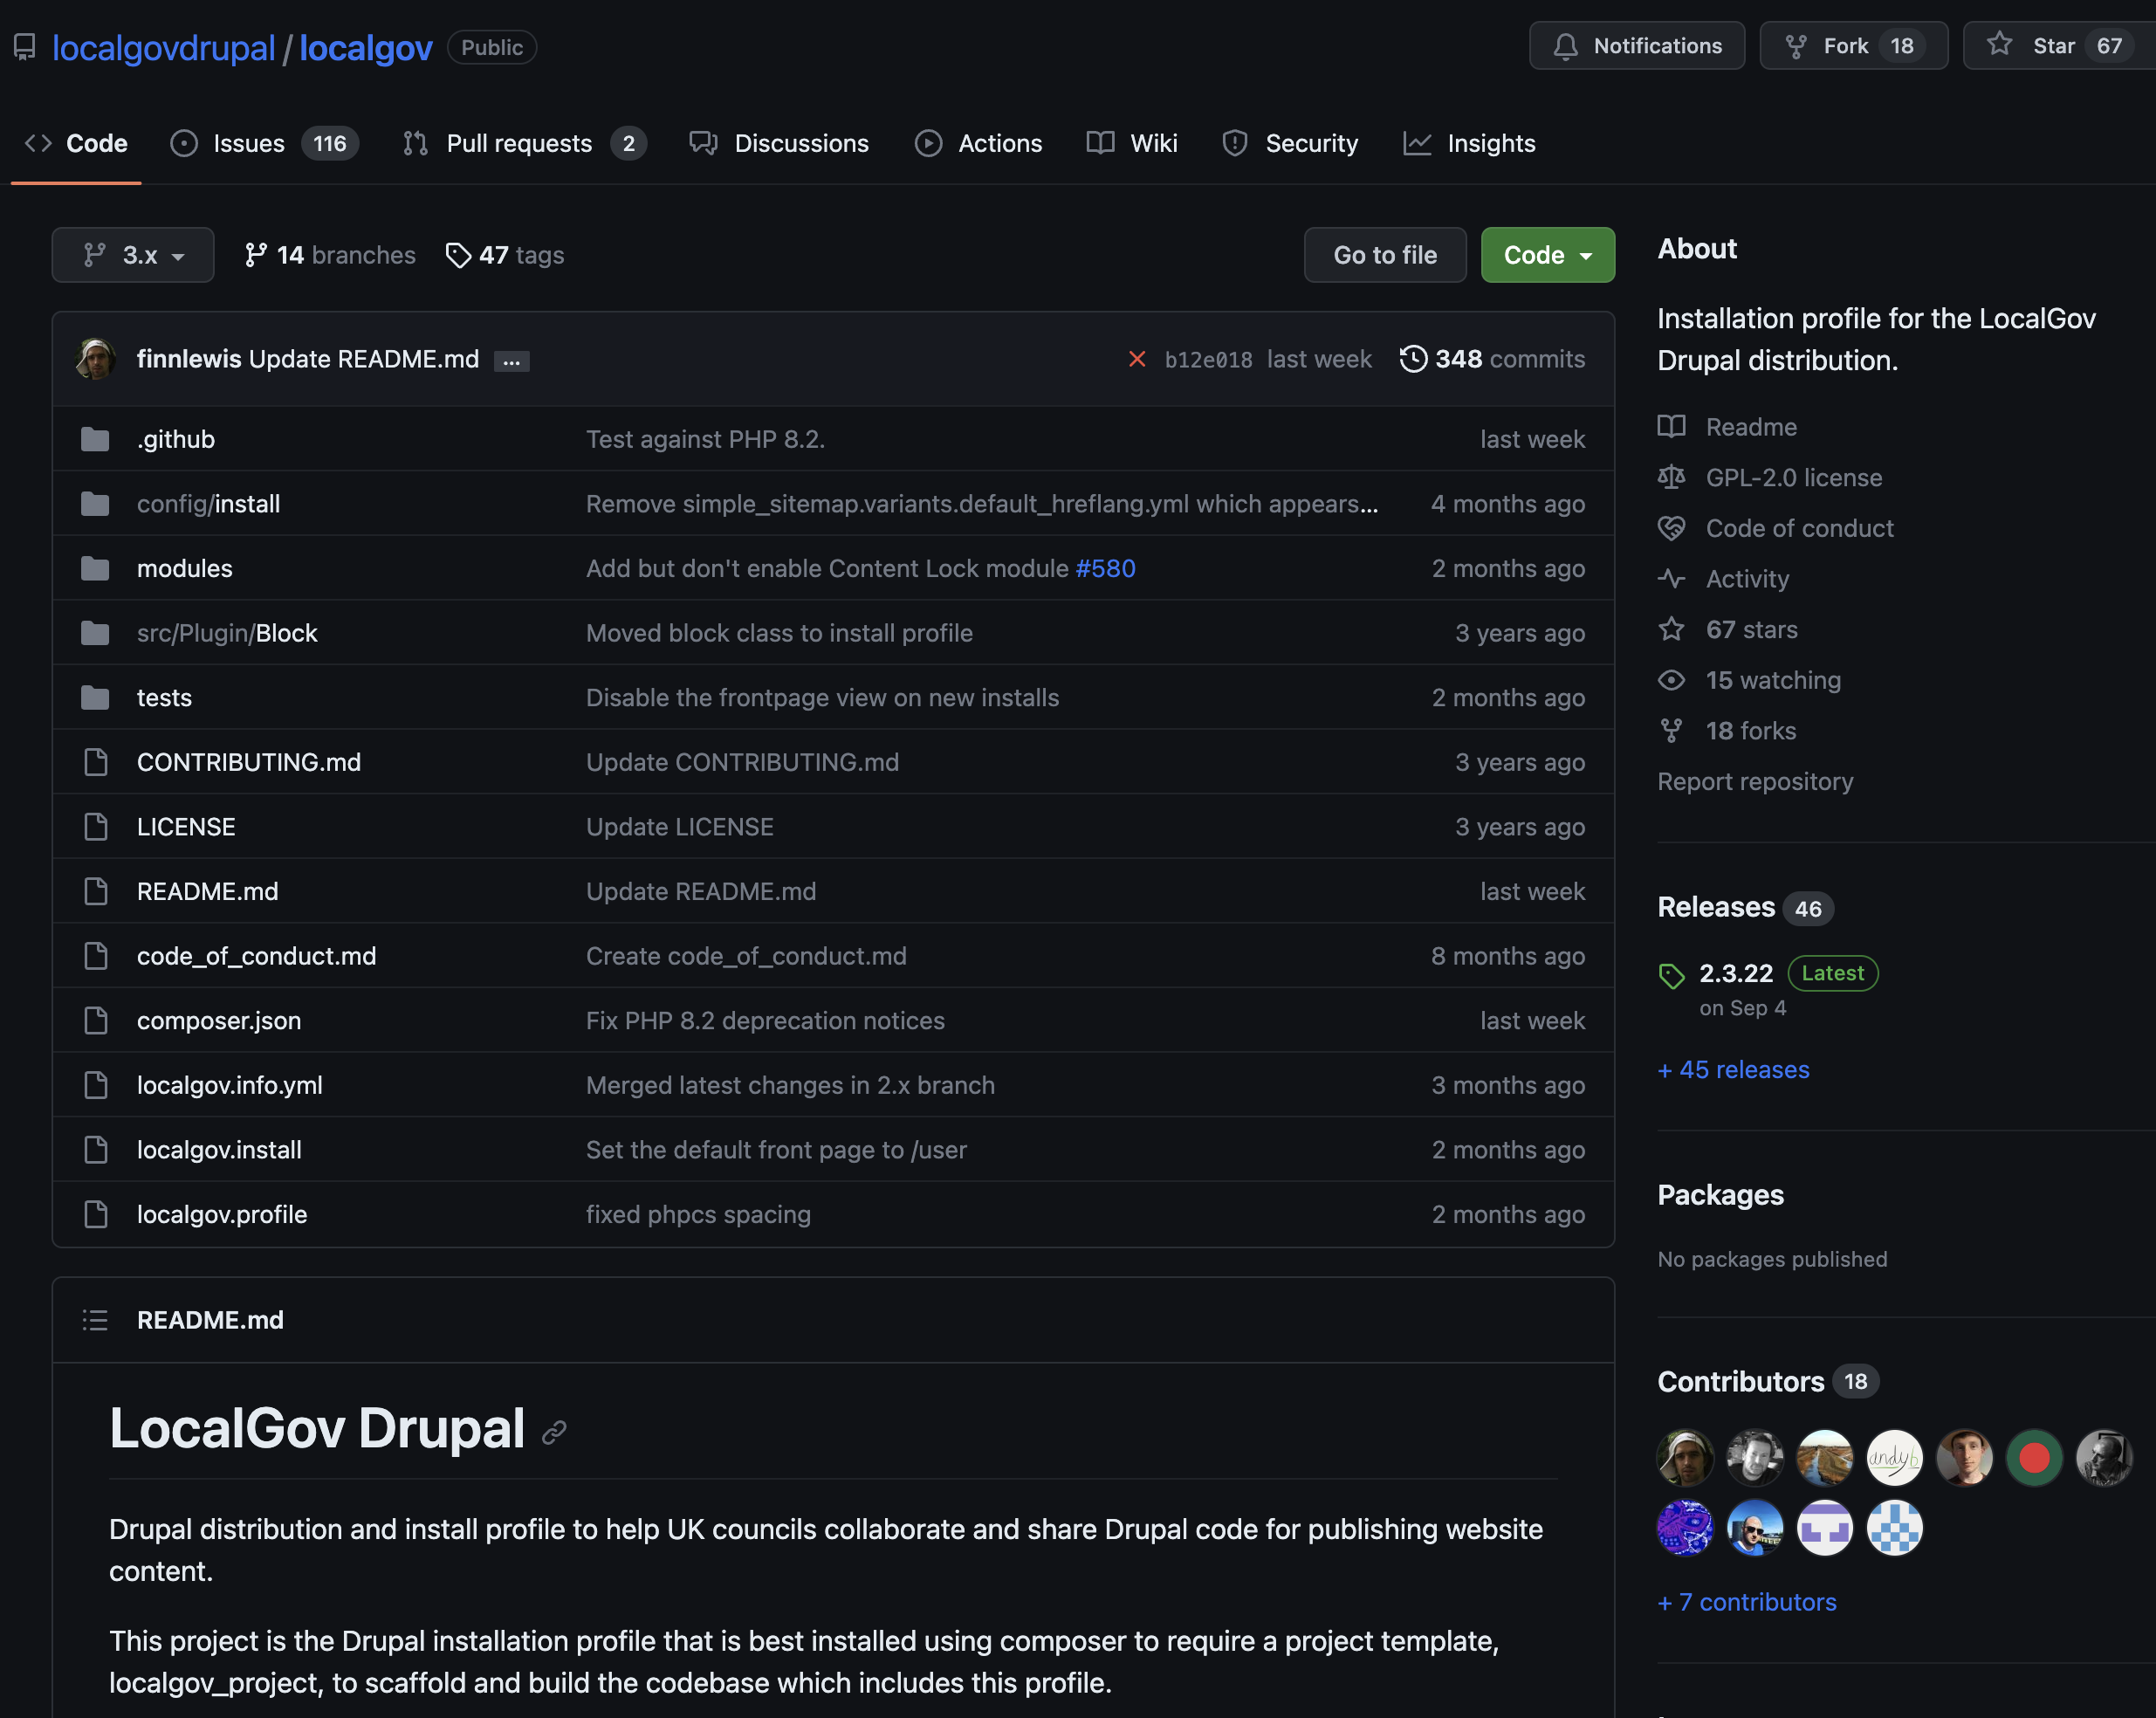
Similarly to our Lando installation guide, we are going to use the LocalGov Drupal project template publicly available on GitHub:
To build the LGD project locally, we need to run the following Composer command and bring all the required packages together in a new LGD_DEMO directory (feel free to change the project name to anything else you might prefer):
composer create-project localgovdrupal/localgov-project LGD_DEMO --no-install
The Terminal output of this command will look something like the following:

Switch to the LGD_DEMO directory by running:
cd LGD_DEMO
2. The DDEV Part
Then, we need to initialise our DDEV project:
ddev config
As you can see in the screenshot below, DDEV is suggesting default values for the following:
- Project name (suggested default: locagov)
- Docroot location (suggested default: web)
- Project type (suggested default: drupal10)
We complete the initialisation by hitting 'Enter' in all three suggestions so the default value is selected. The output of the command should look like the following:

Then, fire up DDEV:
ddev start
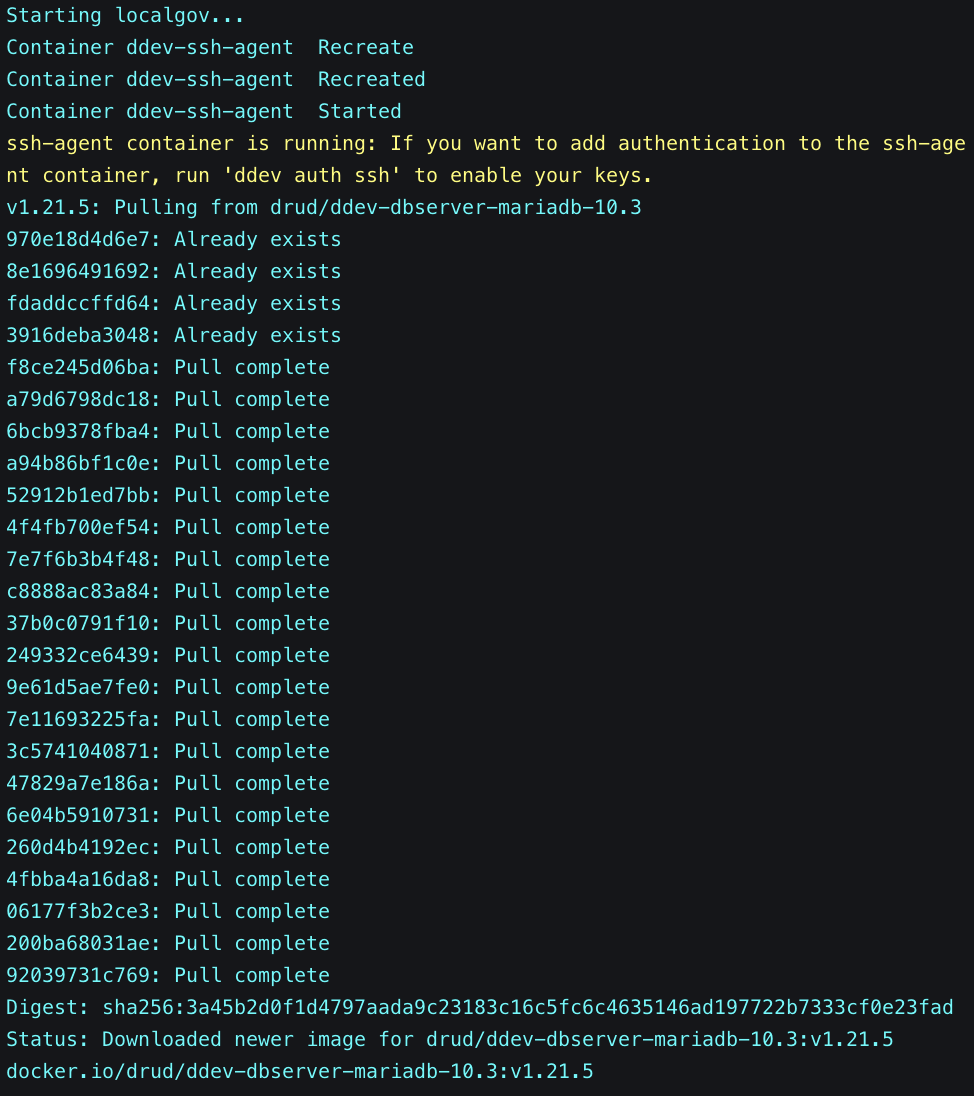
Initially, the required resources are pulled in:
Following that, the containers start running:
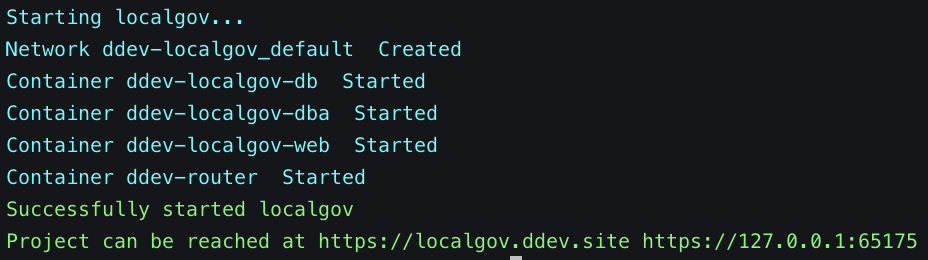
Every time ddev starts, the project URLs are included in the output. In our case, we have selected localgov as the name of our project and, as a result, https://localgov.ddev.site will be the first URL we can access our project on. The second URL, https://127.0.0.1:65175, uses our machine's localhost IP and an available port allocated to our ddev project. Both URLs can be used to access our project on our browser.
Note: The project will not be accessible via those URLs until you have run composer install in Step 3 below.
At any point (when you're done for the day, for example), you can stop the project and remove its memory usage by running:
ddev stop
Once DDEV has been initialised, you might also want to run:
ddev auth ssh
in order to enable your SSH keys for this project (this is useful for SSH authentication in case access to remote repositories is required). The output of this command lists all the SSH keys our container has been made aware of.
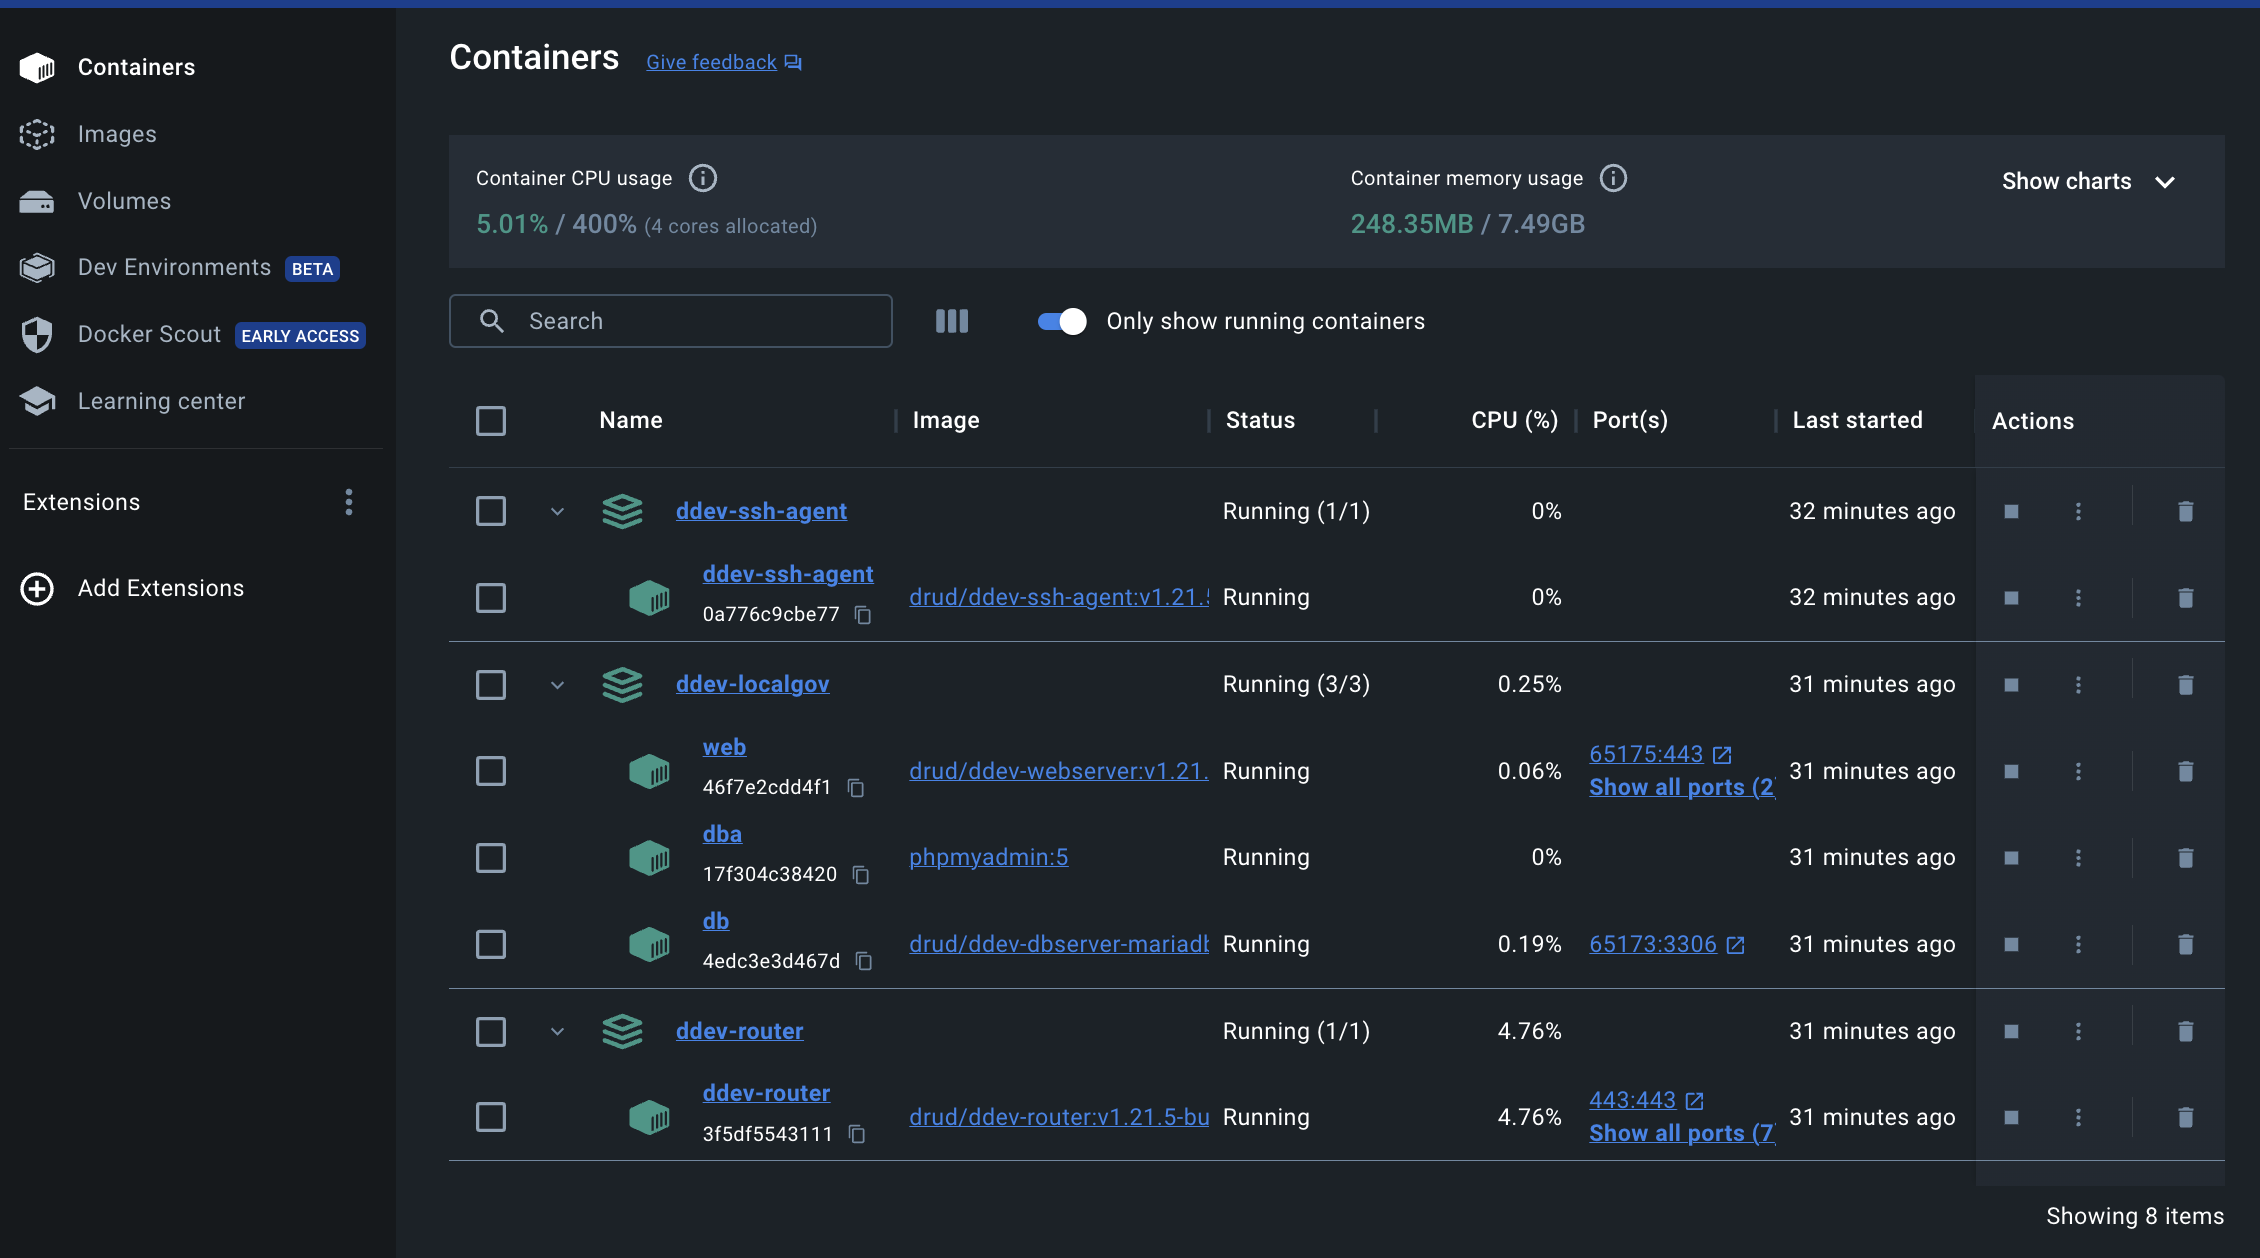
The Docker dashboard, with all our LGD demo project's DDEV containers up and running, should look something like the following:
3. The composer install Part
Now it's time to pull in all the Composer dependencies for this project:
ddev composer install
If it's the first time running composer install, this process can take a while because all the project's dependencies need to be brought in from their repositories. We have already covered the various stages of this Composer command's output in our LGD Lando installation guide. Upon re-running the same command, the Terminal should naturally inform us that there is Nothing to install, update or remove.
4. Building the Site with Drush
We can now finally install our site using the site install drush command (for more on drush, Drupal's popular scripting tool, see https://www.drush.org:
ddev drush si localgov -y
The output of the command will look something like the following:
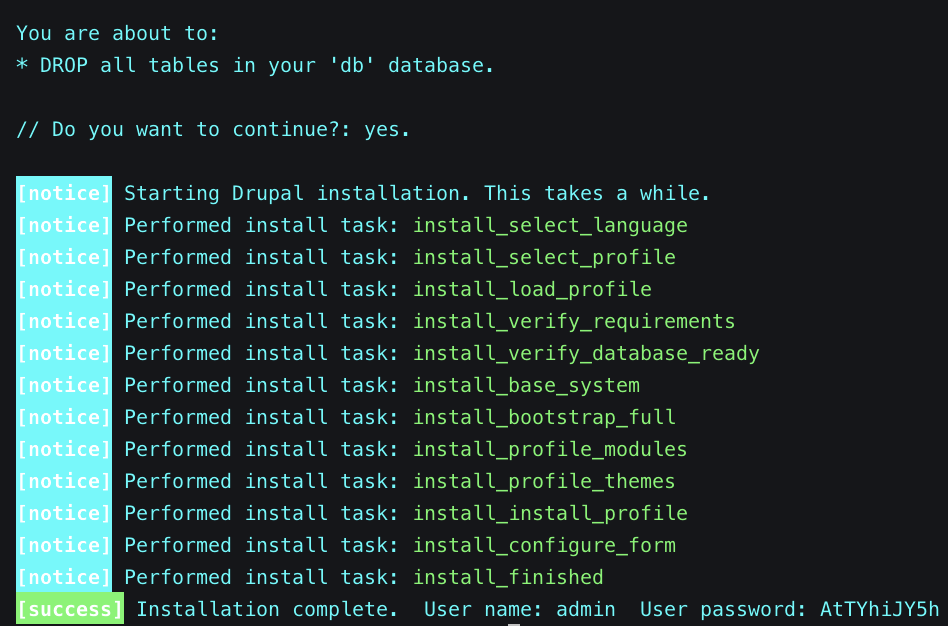
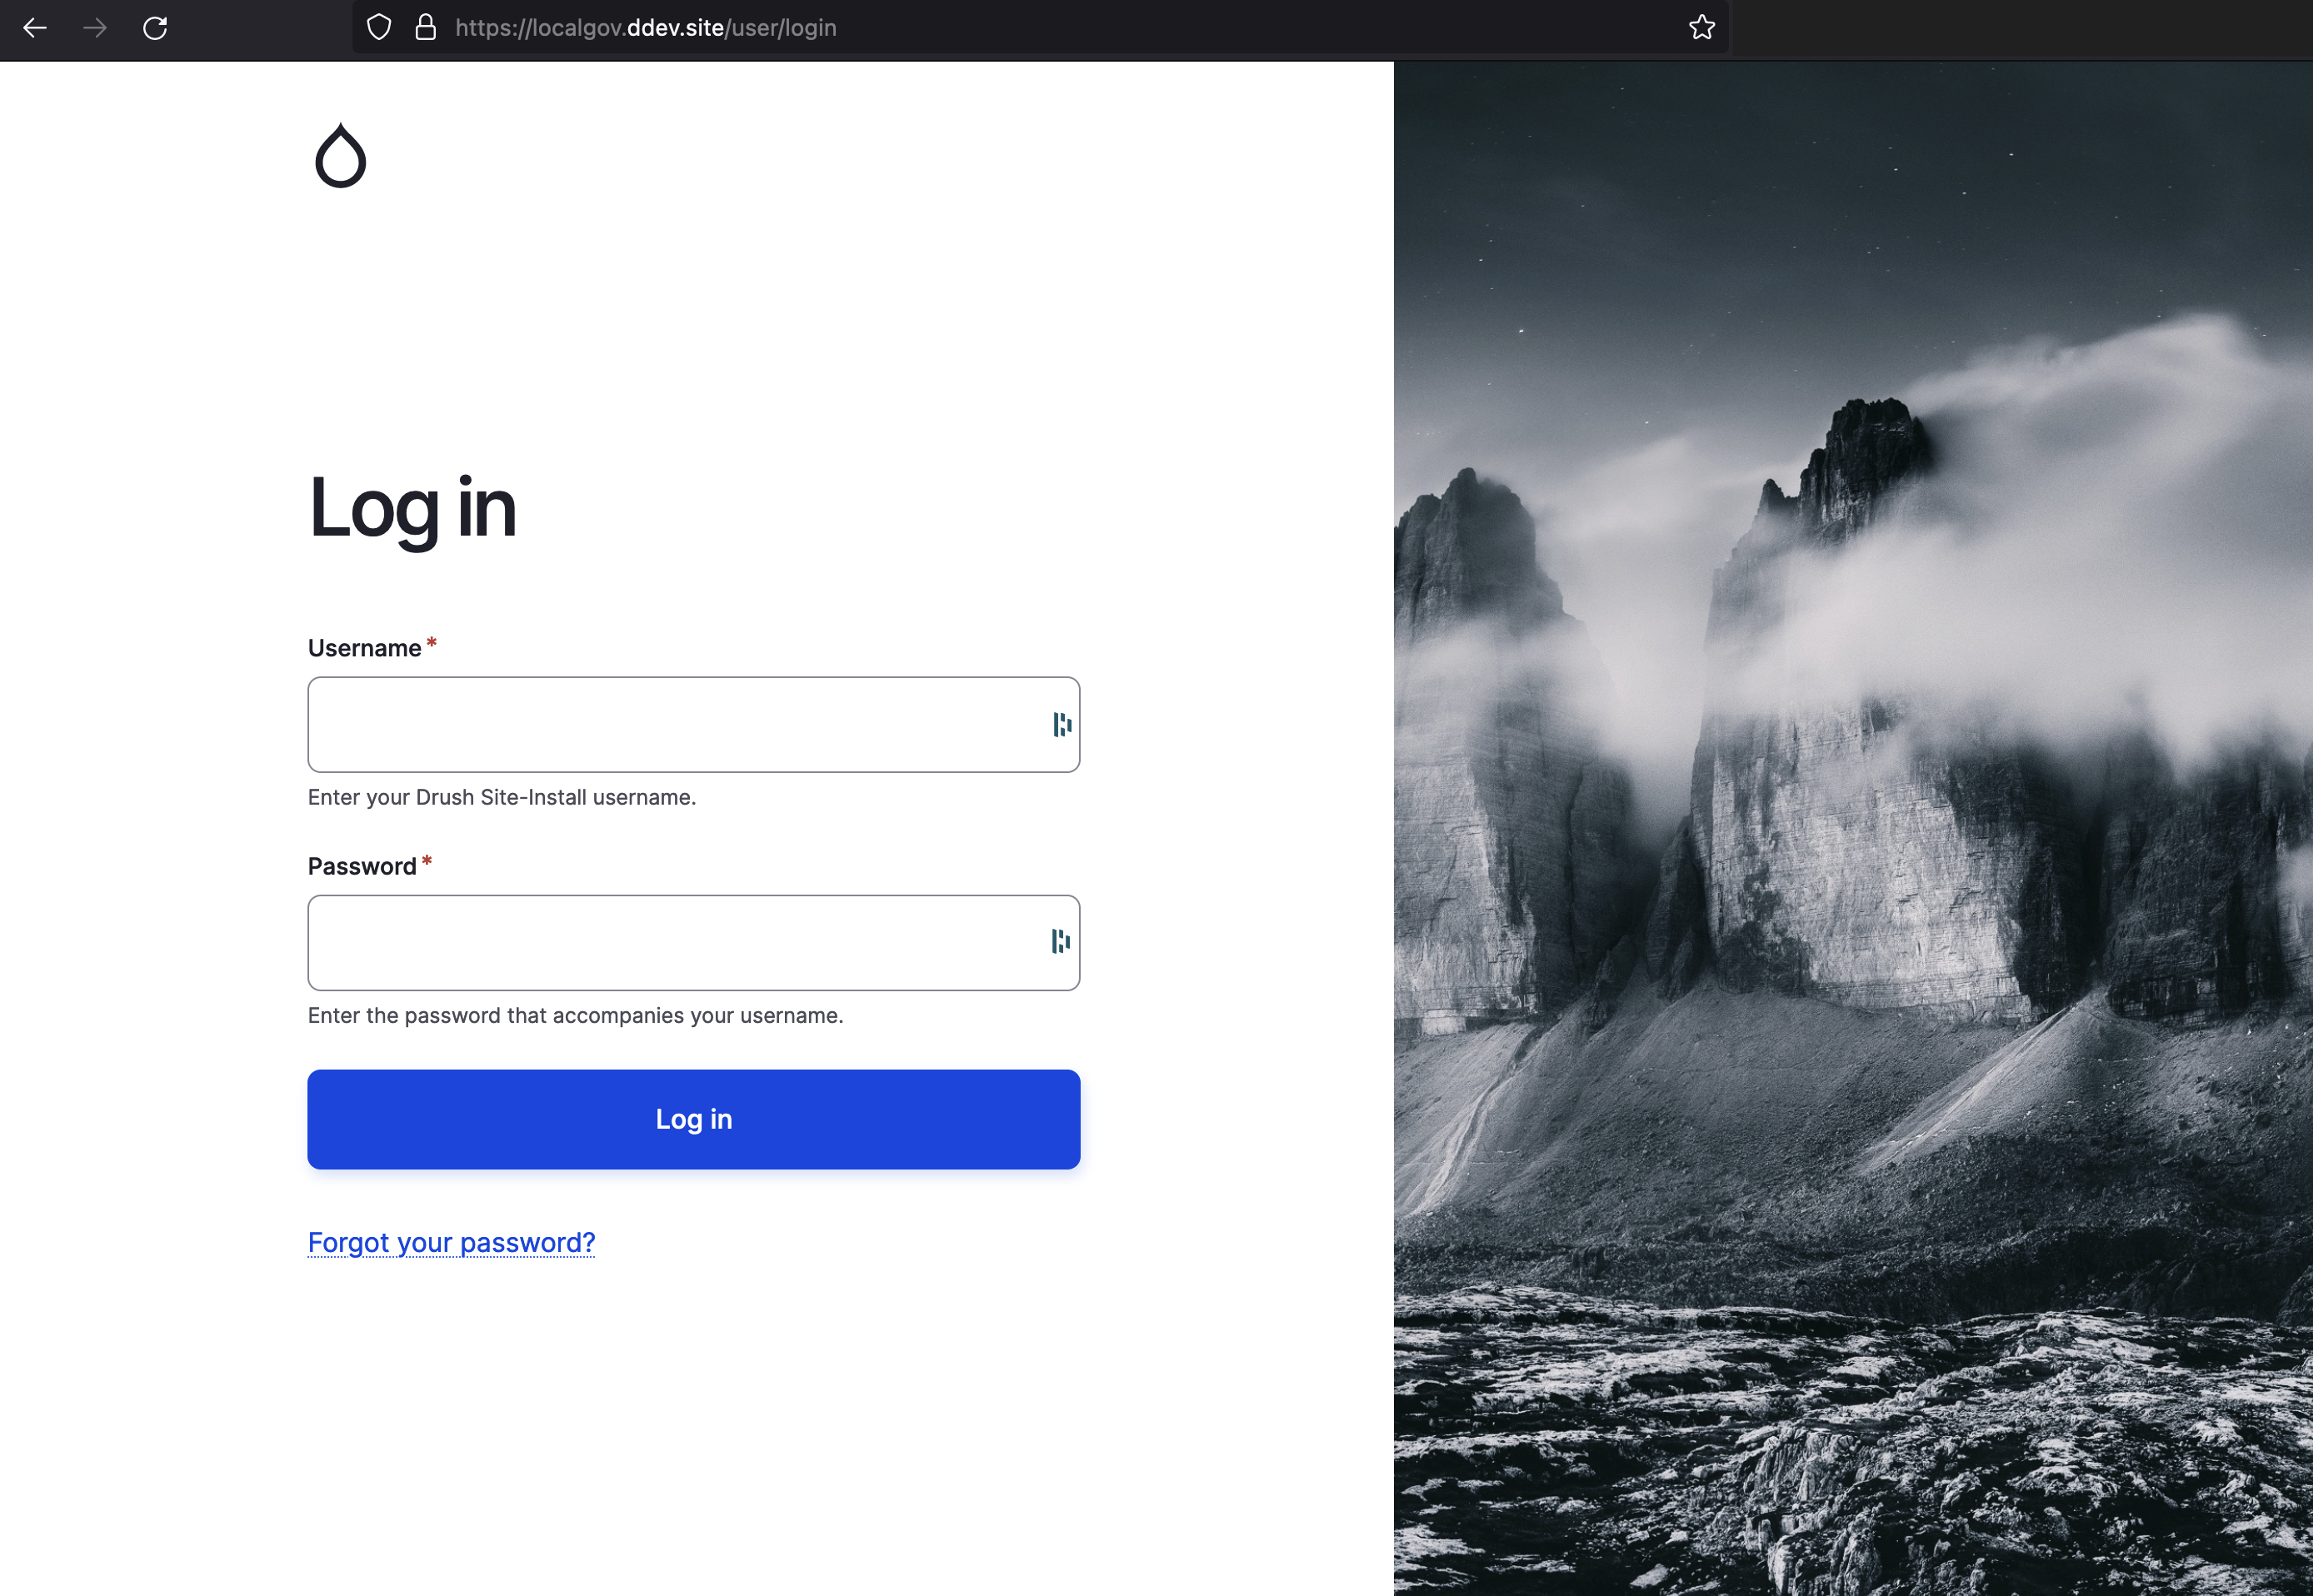
Our new LocalGov Drupal site is now up and running locally! Remember those two project URLs returned by ddev start above? You can use either one of them, and the credentials returned from the last command, to access your Drupal administrator account on your brand new LGD site on your favourite browser:
Logging into your admin account will land you on the Drupal content page:
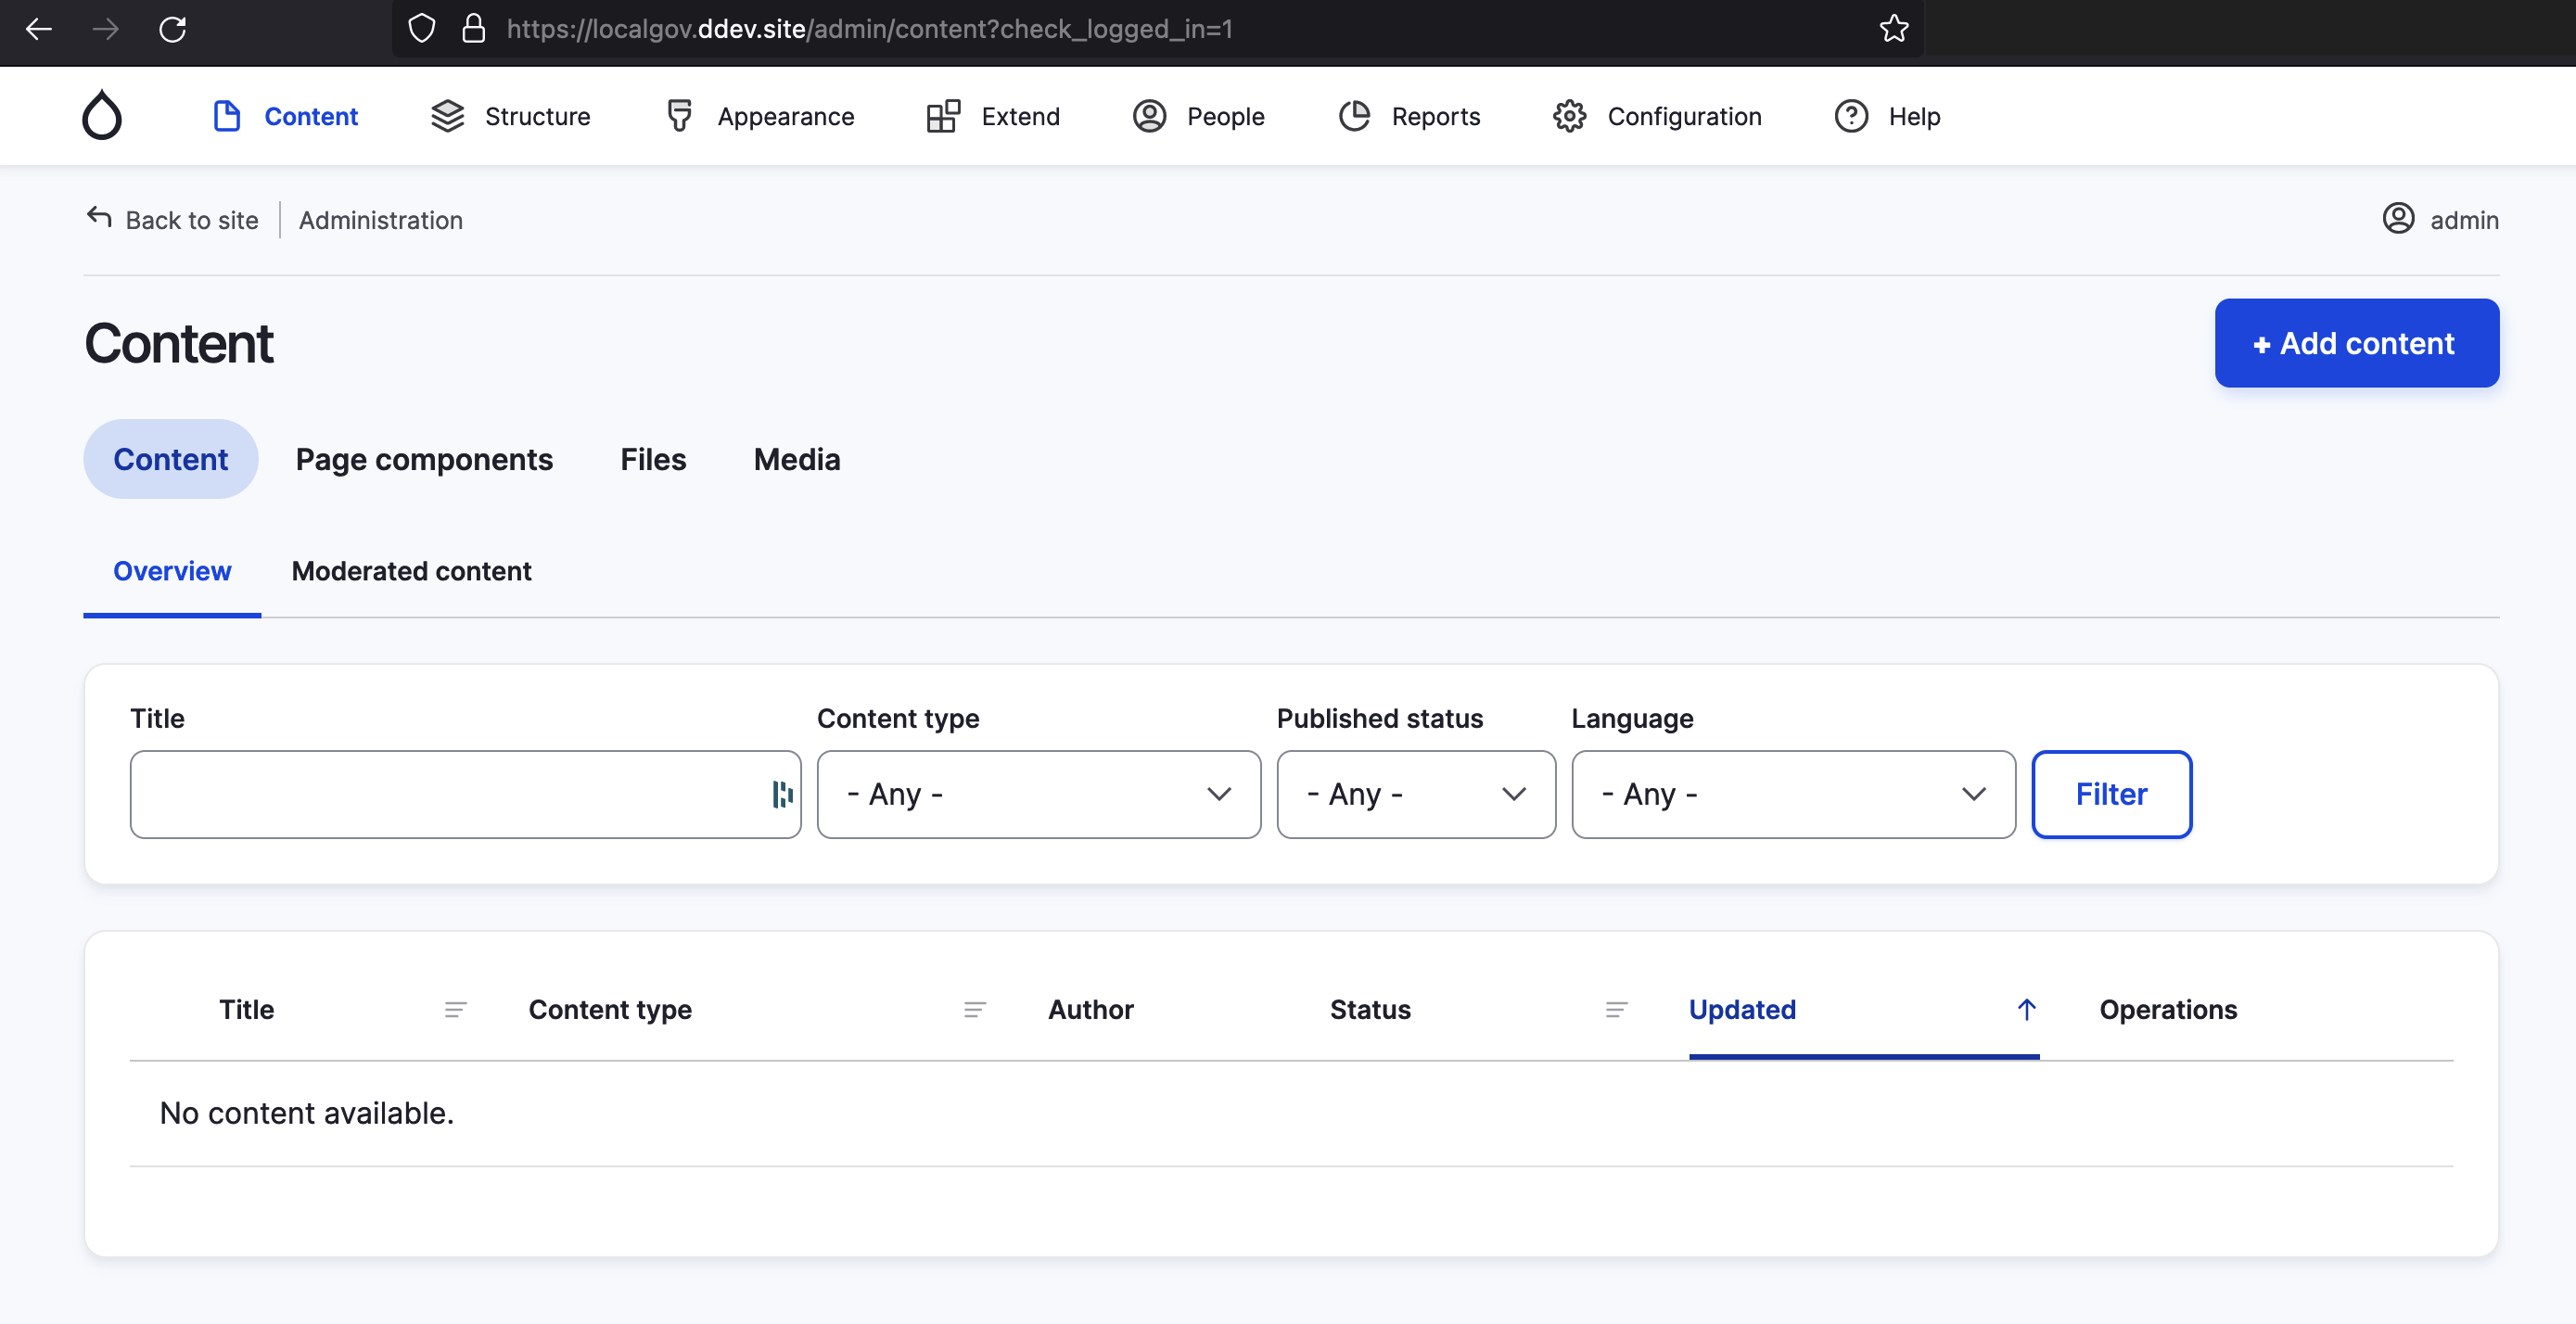
Your brand new LocalGov Drupal site is now up and running locally with DDEV. From here, you can explore all the unique features that come with LGD out of the box and start building your new Council website!