Working with Lando
Lando Installation
Lando is a free, Open Source, cross-platform, local development environment and DevOps tool built on Docker container technology. Lando basically allows you to mimic a Cloud-hosting environment locally - it's like having a server on your laptop. On a high level, your lando configuration should contain ALL the things you need to run, develop and test your project.
To install Lando, follow the steps outlined on the official Lando installation page.
LocalGov Drupal local installation, with Composer and Lando
If you haven't yet installed Composer and Docker Desktop, see Getting Started for instructions on how to install these requirements.
Now that we have all the required dependencies in place (Composer, Docker Desktop and Lando), we can create our first LocalGov Drupal project locally.
Open your Terminal / Command Prompt and switch to an appropriate directory (for example, on Mac OS X, the ~/Sites folder is commonly preferred):
cd ~/Sites
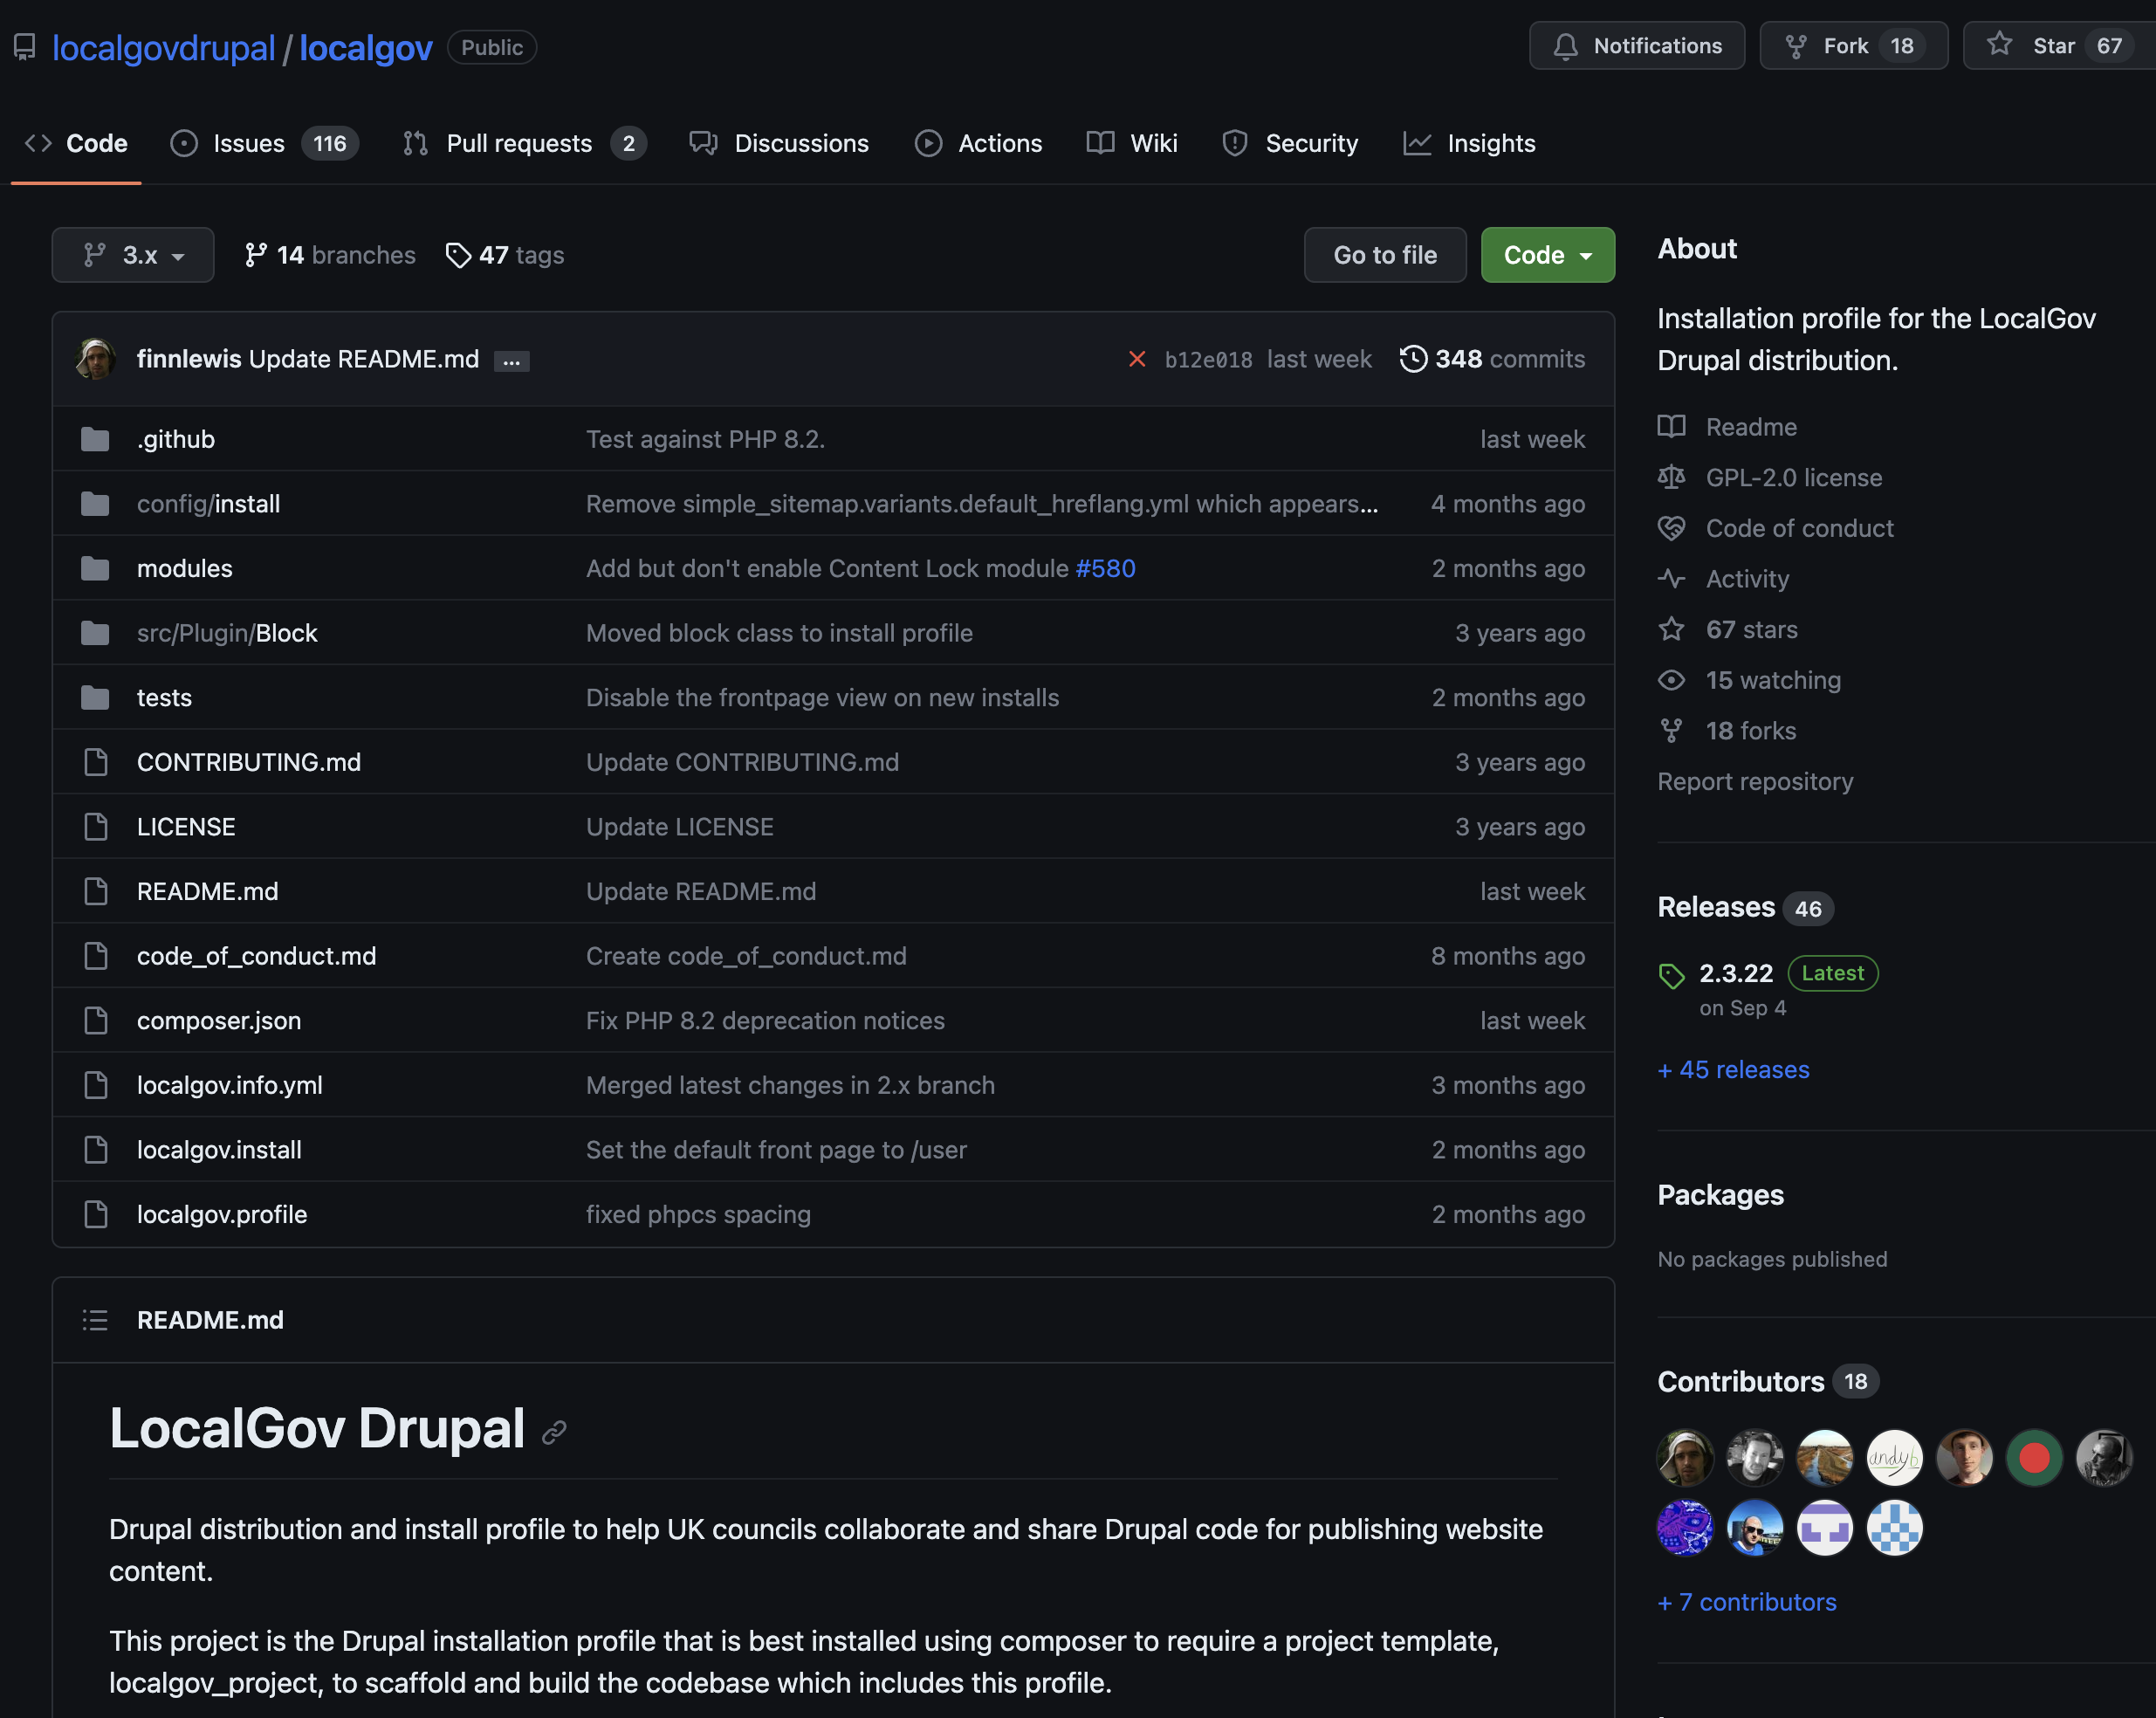
We are going to use the LGD project template publicly available on GitHub: https://github.com/localgovdrupal/localgov_project.
To build the LGD project locally, we need to run the following Composer command and bring all the required packages together in a new LGD_DEMO directory (feel free to change the project name to anything else you might prefer):
composer create-project localgovdrupal/localgov-project LGD_DEMO --no-install
The Terminal output of this command will look something like the following:

Switch to the LGD_DEMO directory by running:
cd LGD_DEMO
Then, fire up Lando:
lando start
The Terminal output of this command will look something like the following:
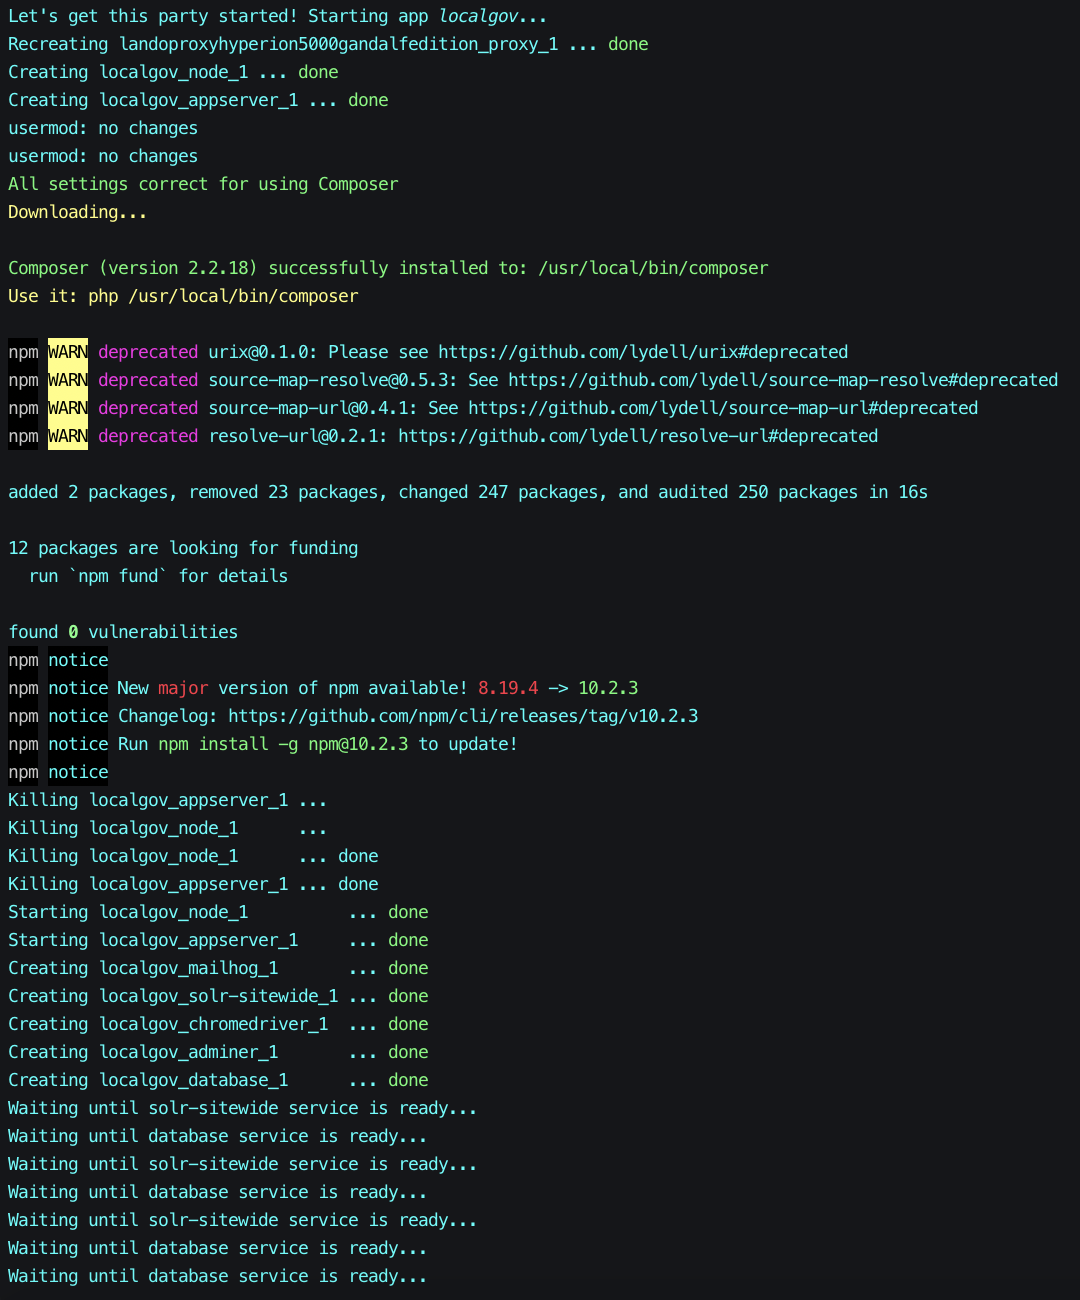
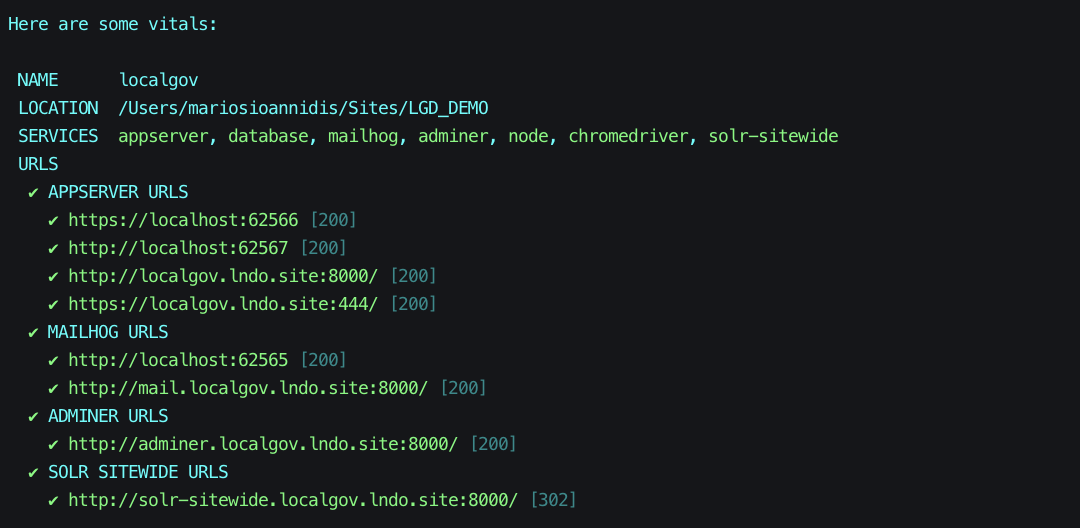
When the process of building Lando is complete, a list of useful details is presented, including the services installed in the corresponding Docker containers as well as their corresponding URLs:
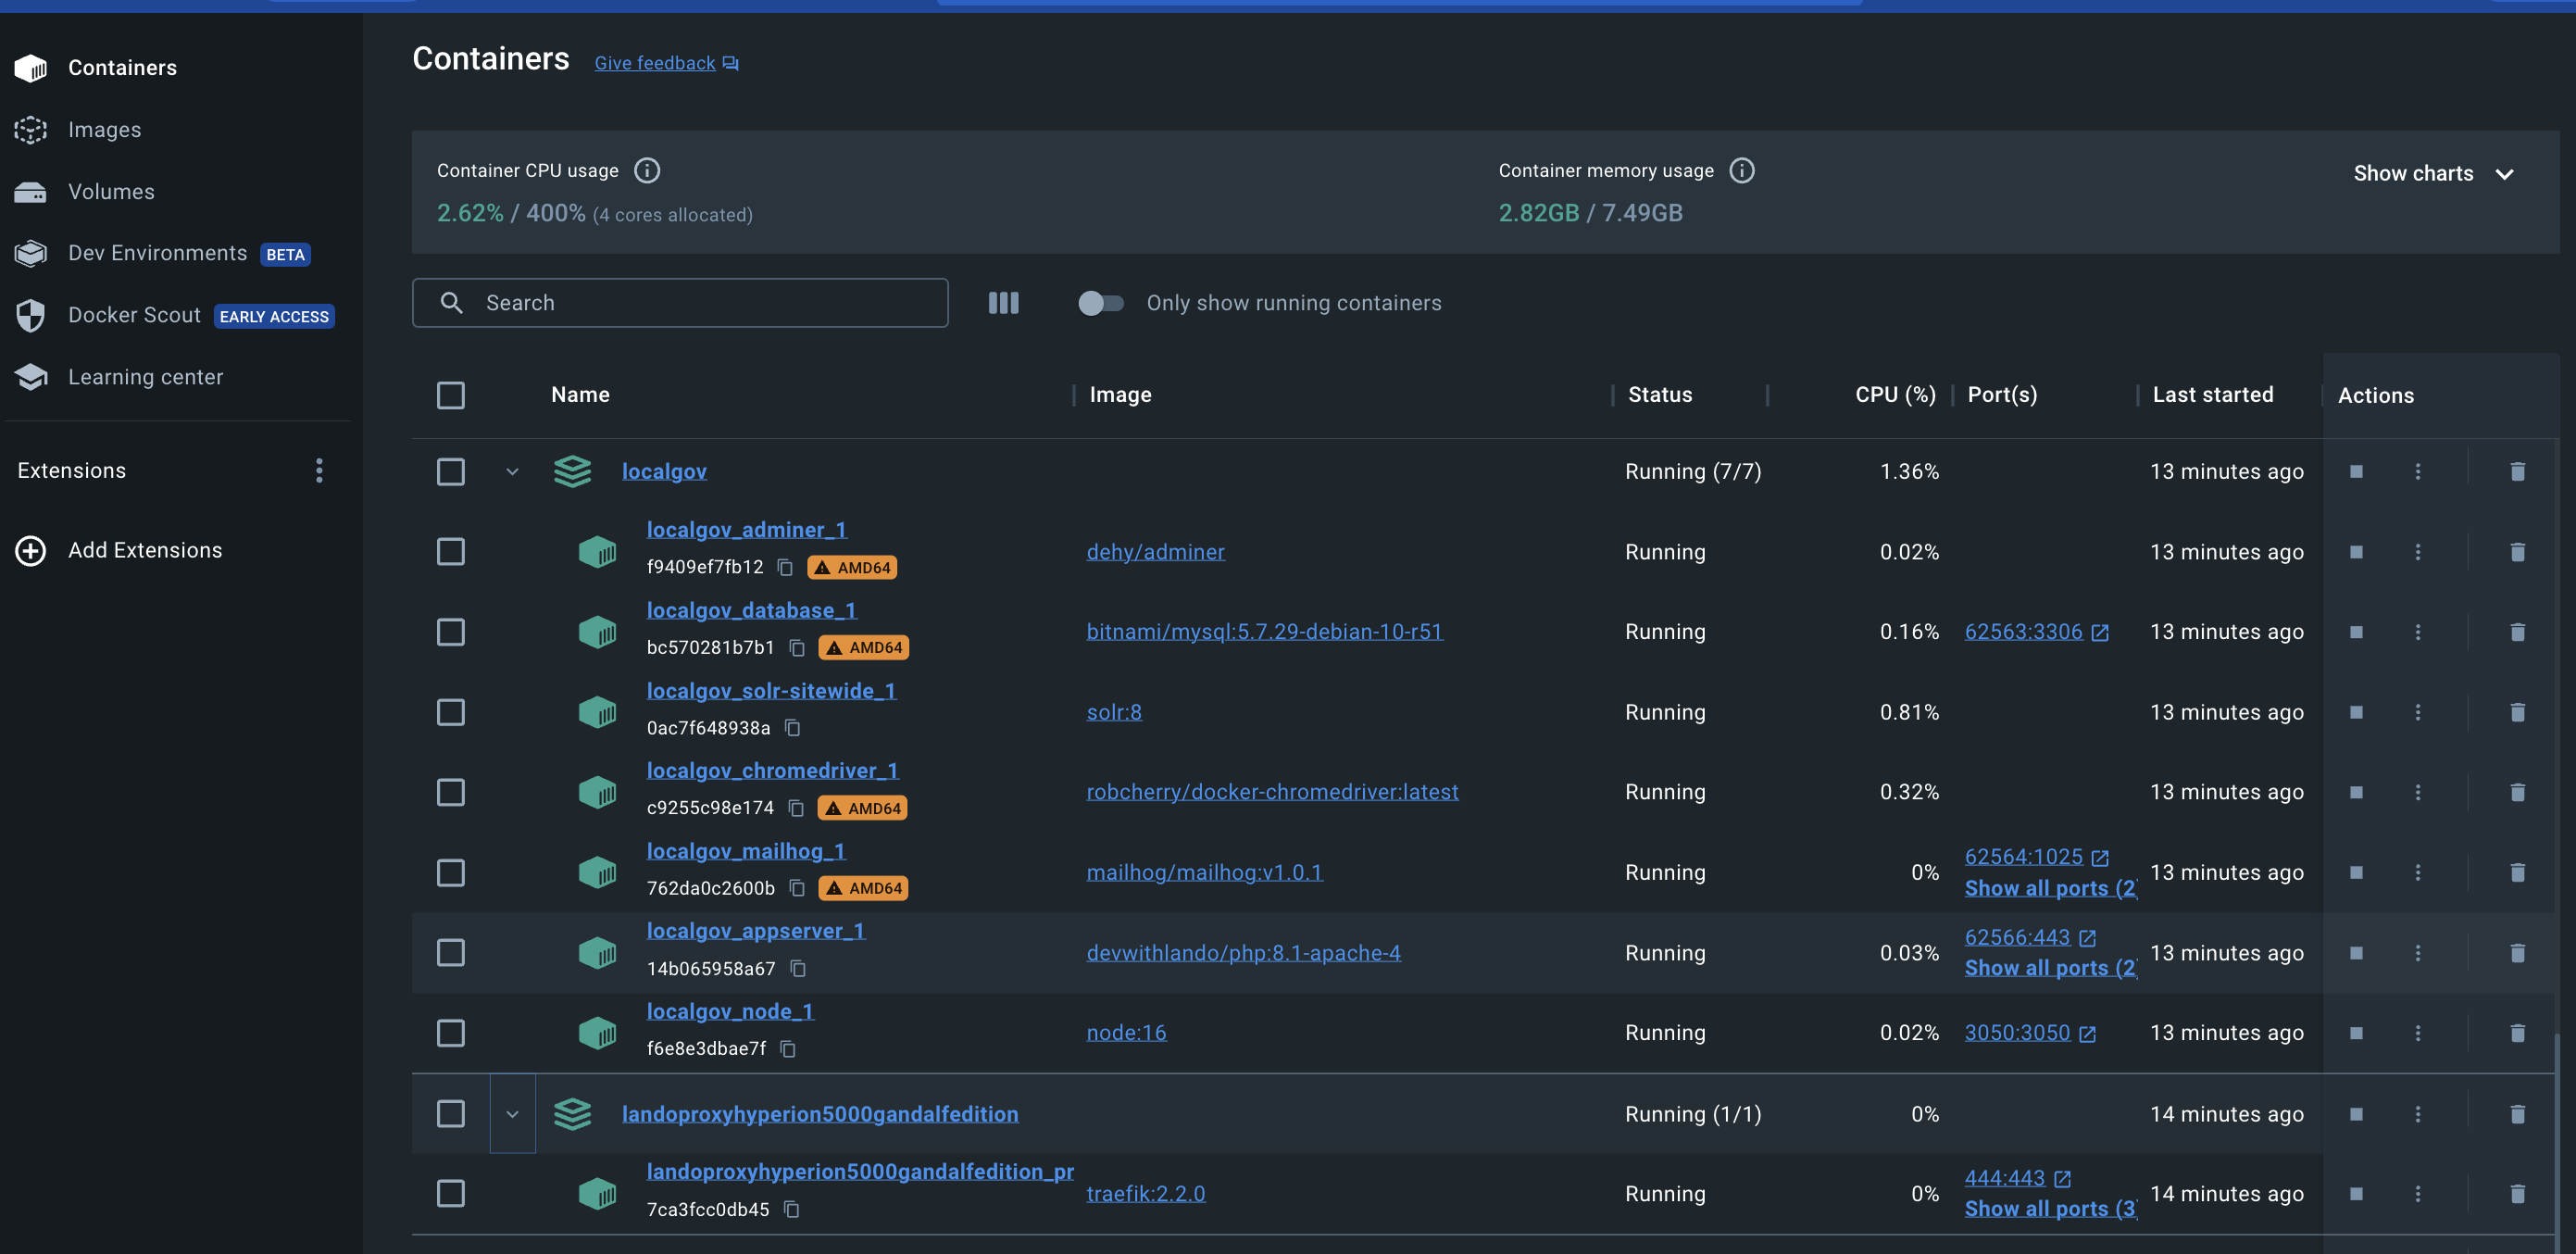
The Docker dashboard, with all our LGD demo project's containers up and running, should look something like the following - keep in mind that some variations are possible due to Operating System differences or even Mac chip variants (Intel / Silicon):
Now it's time to bring in all the Composer packages for this project (this can take a while as the command downloads all the necessary packages from their corresponding repositories). As you might be running a different version of PHP on your host machine from the version that Lando runs, it is advisable to run composer install from within Lando. This ensures dependencies reflect the PHP version that the webserver is actually running:
lando composer install
Below, we are presenting the main phases of the lando composer install process (you can read more about how Composer actually manages and installs dependencies on the corresponding Composer documentation page).
1. Locking dependencies to their defined versions
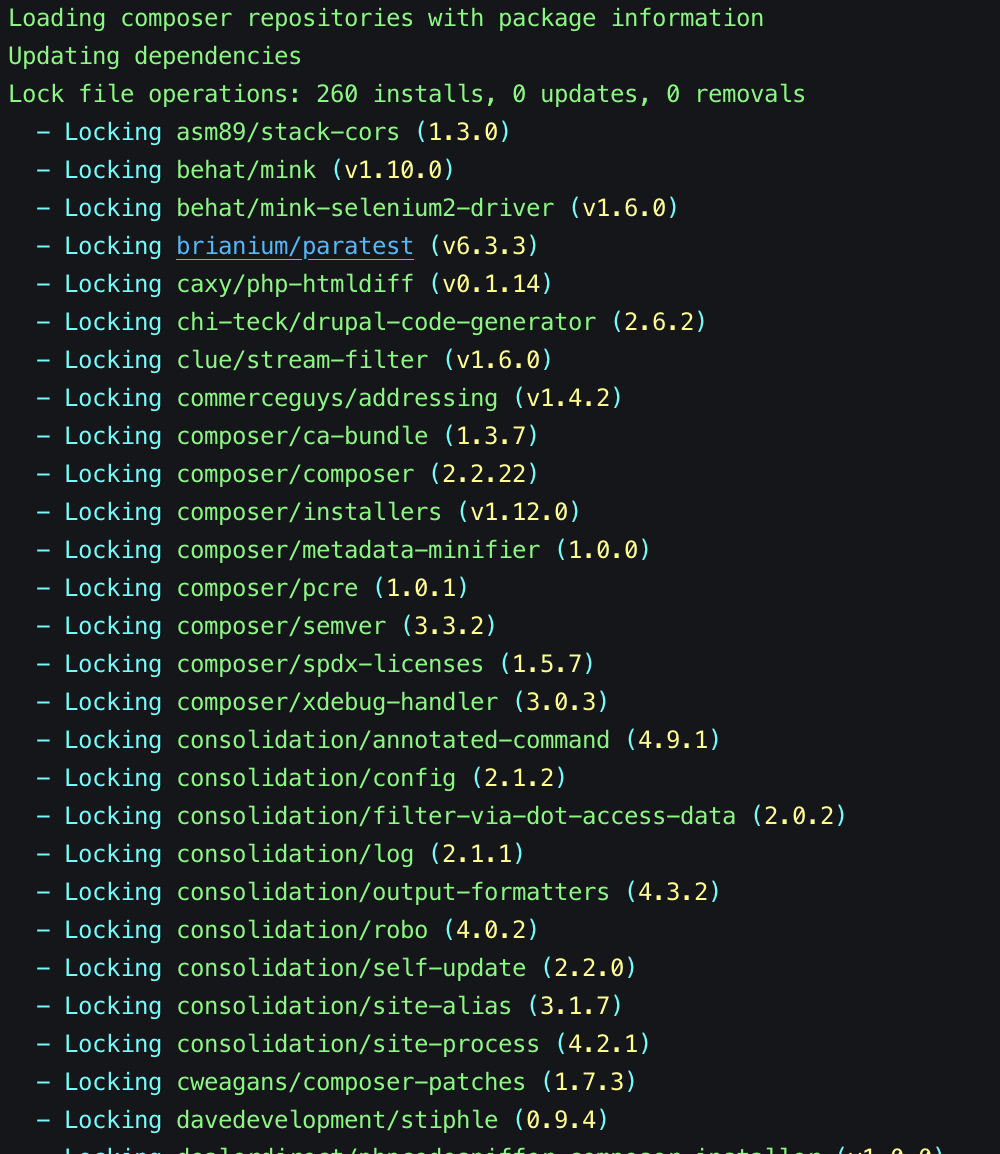
2. Downloading the locked dependencies
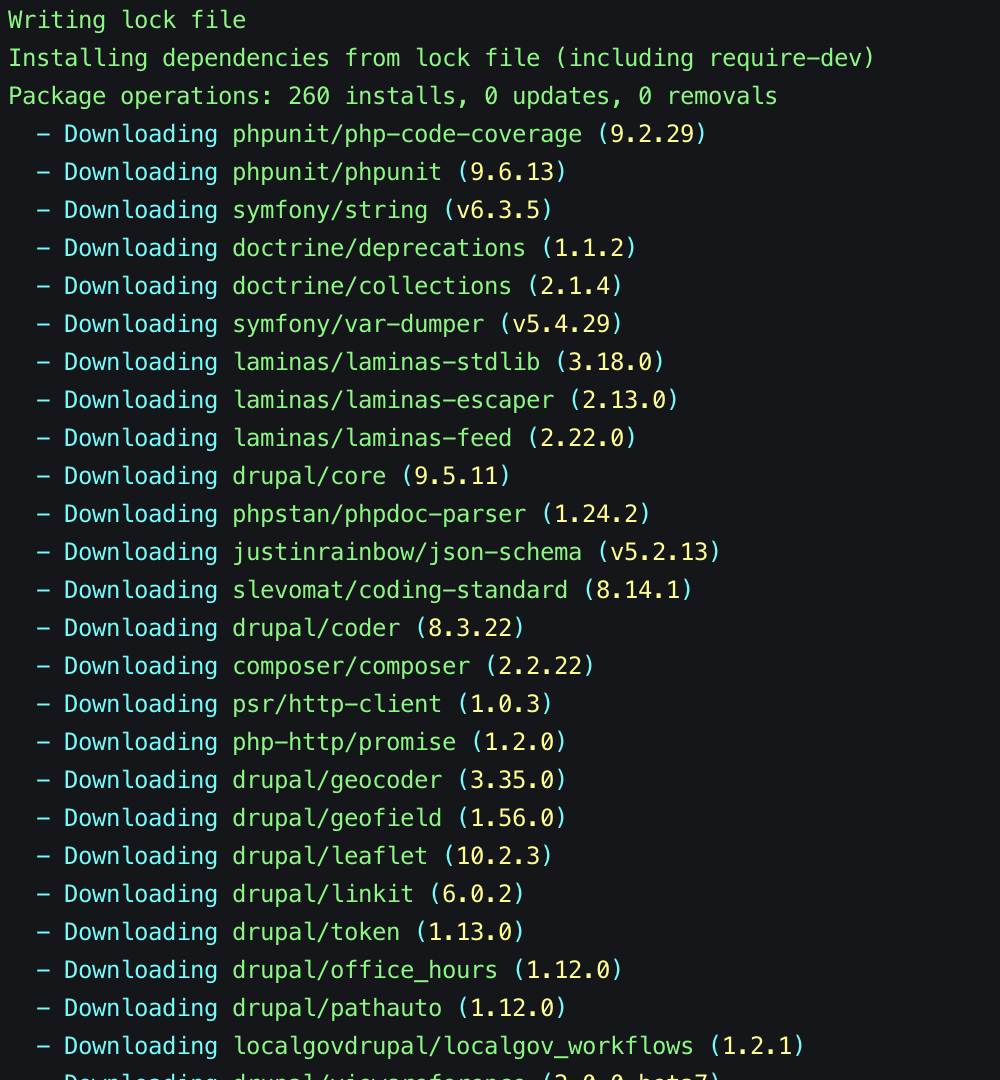
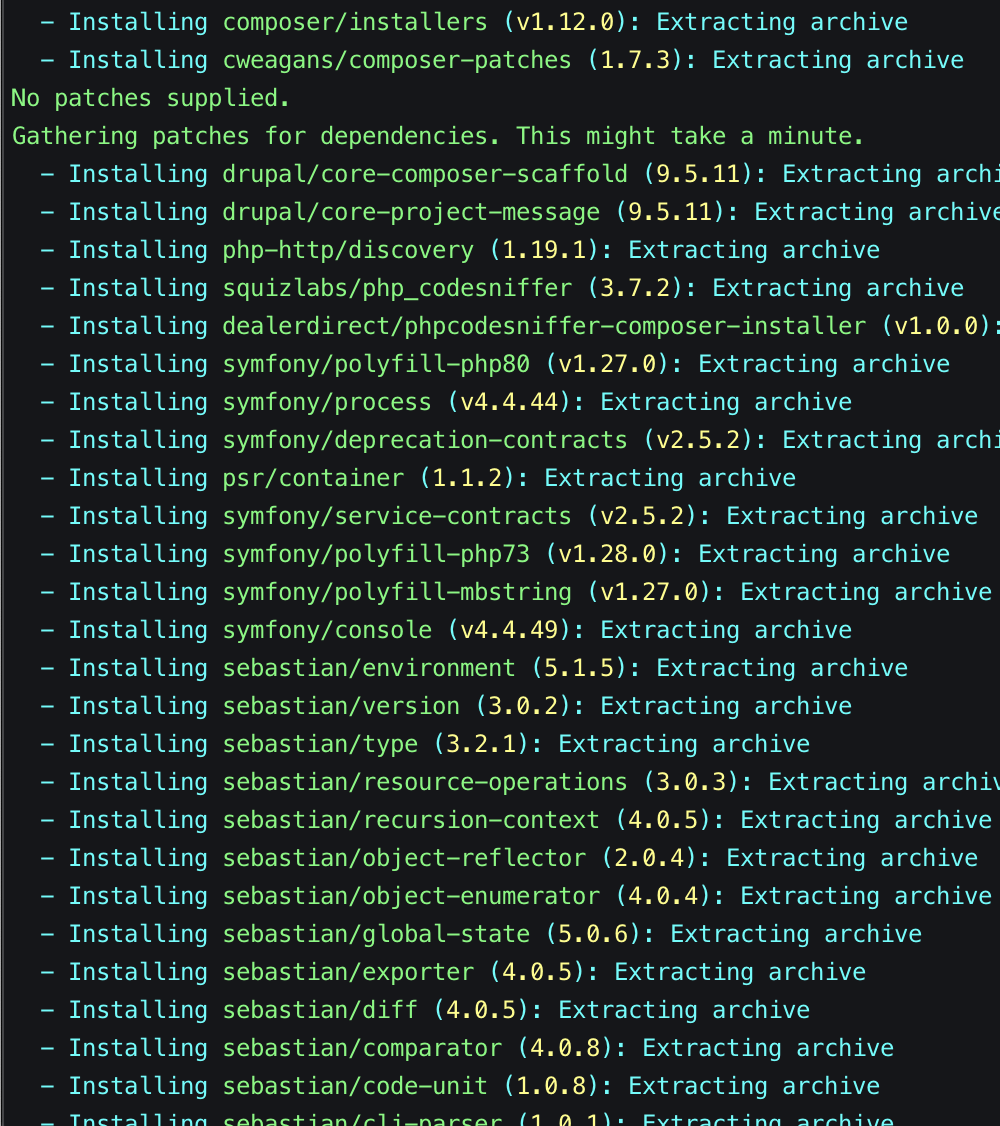
3. Installing the downloaded dependencies
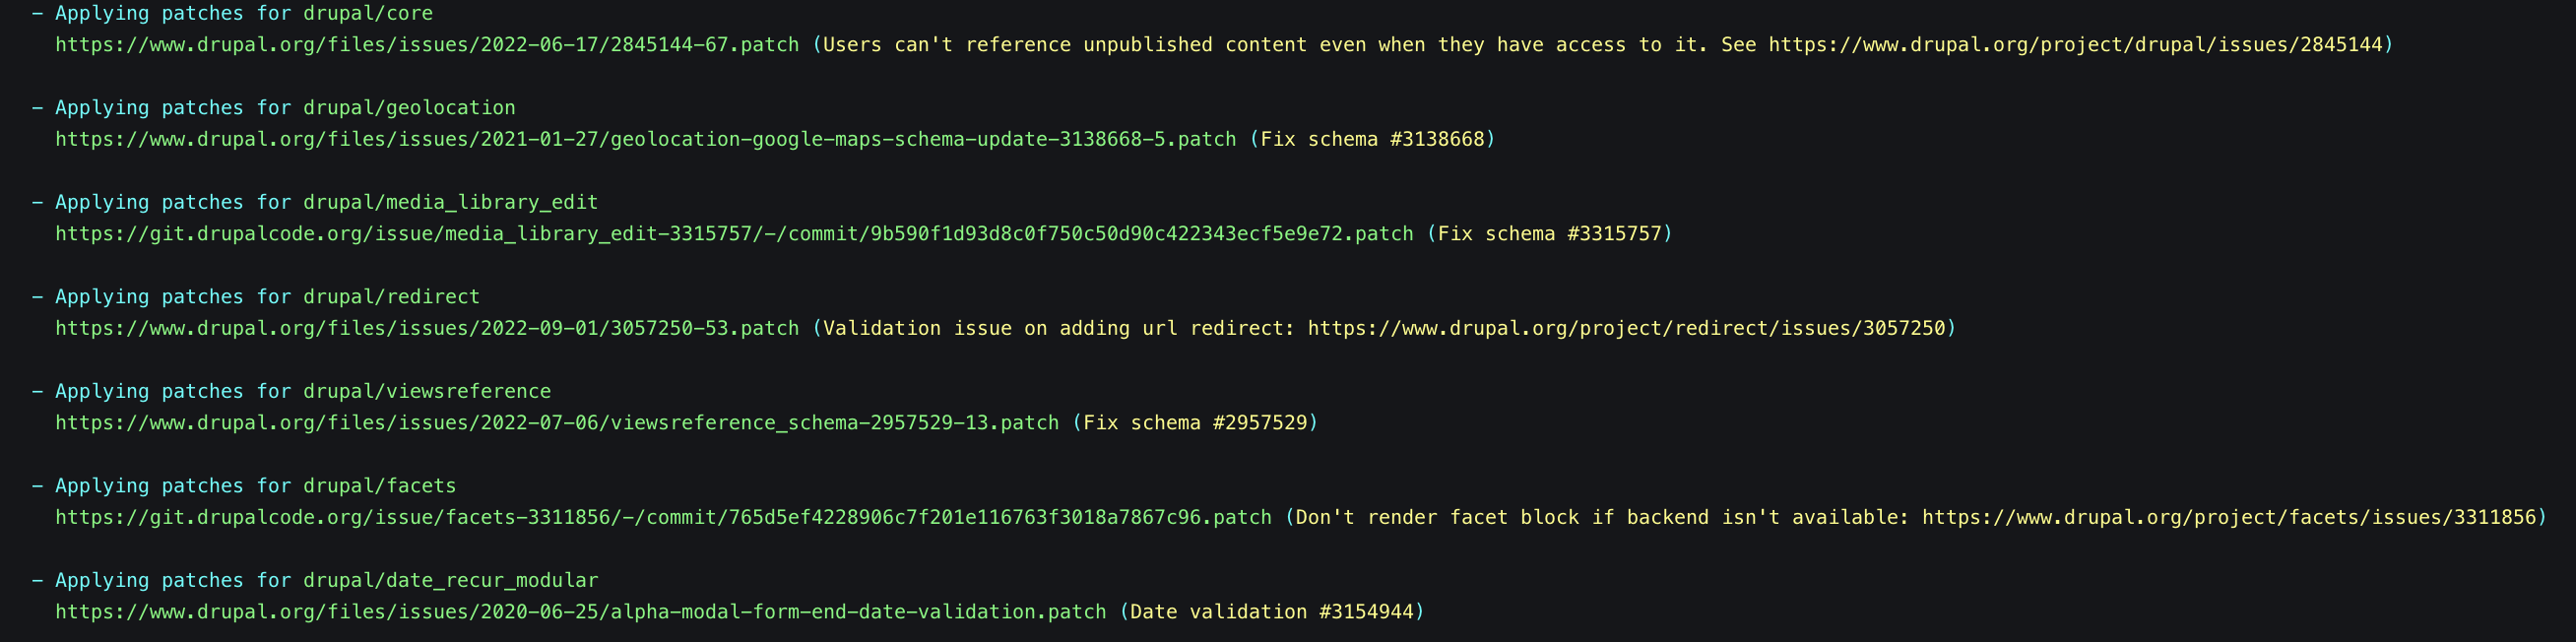
4. Applying patches
(These have also been pre-defined in the LGD Composer template.)
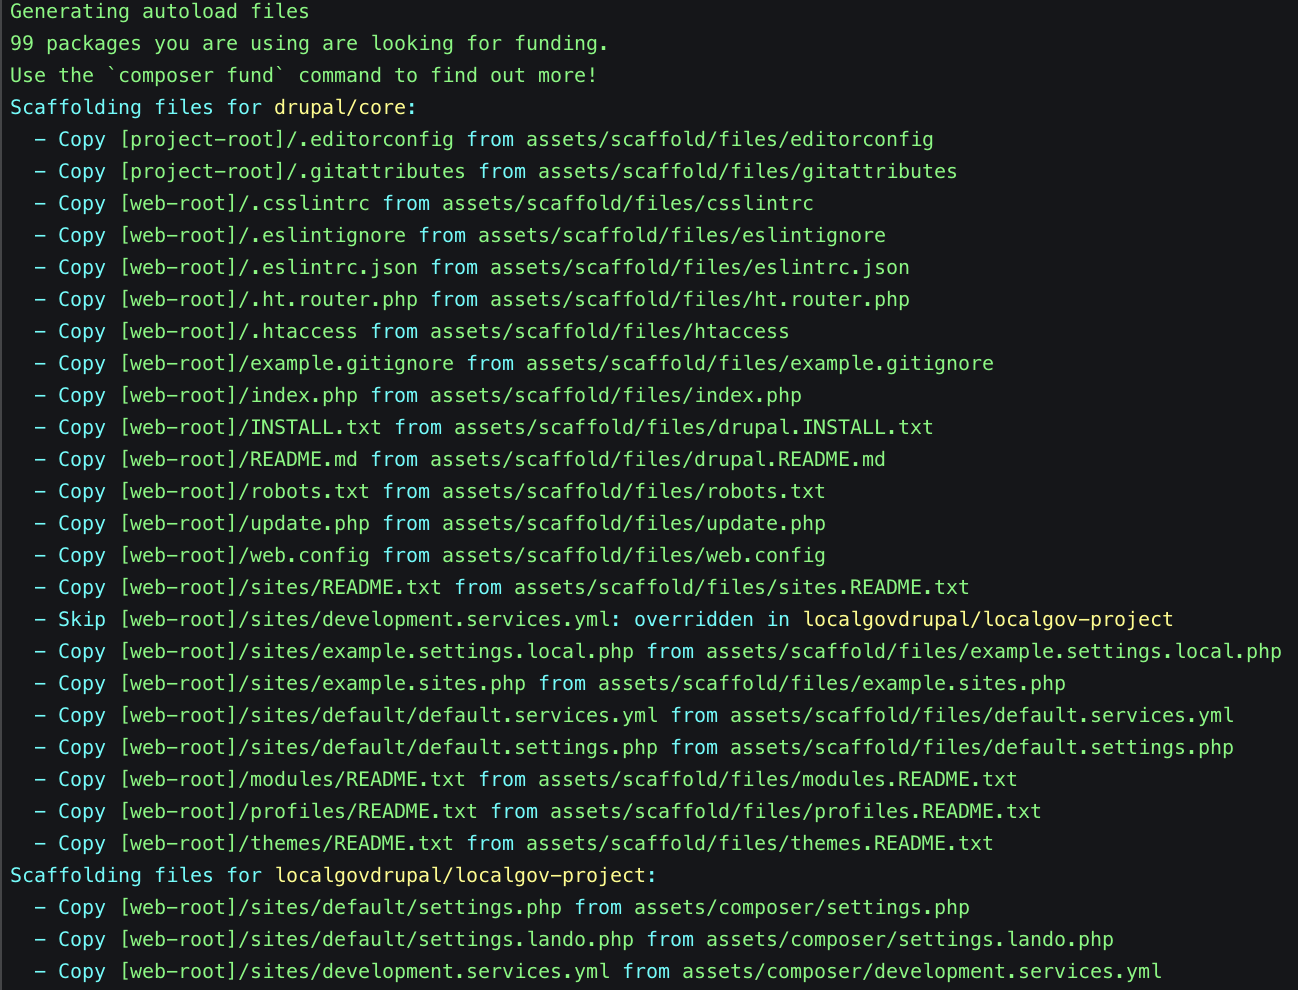
5. Scaffolding files
(Scaffolding is a fancy name for putting certain key Drupal files and their contents in place).
Site Installation with Drush
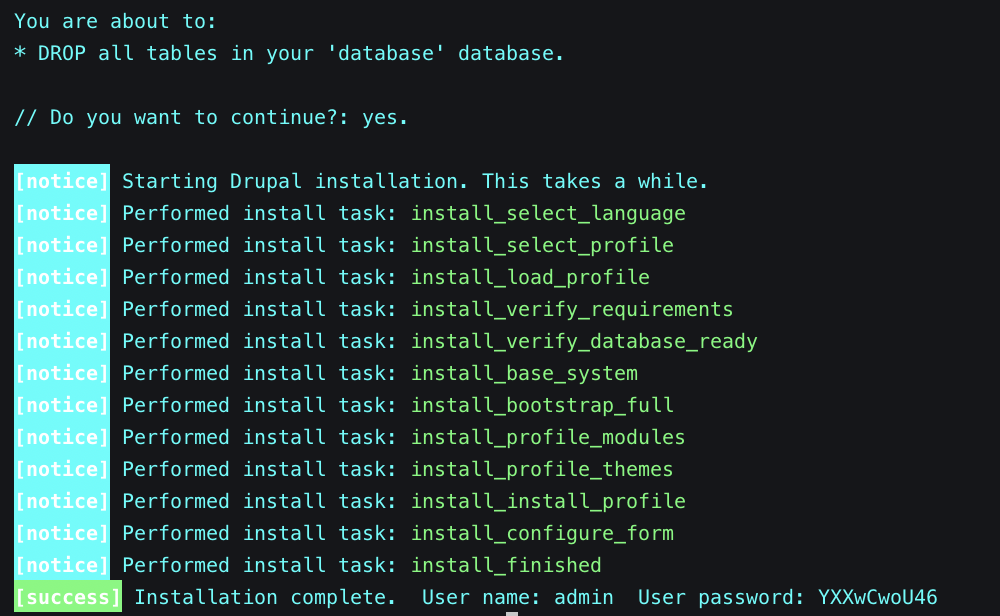
After the composer install process has been completed, we can finally install our LGD site locally using the drush site install command (for more on drush, Drupal's magic scripting tool, see https://www.drush.org):
lando drush si localgov -y
The output of the command will look something like the following:
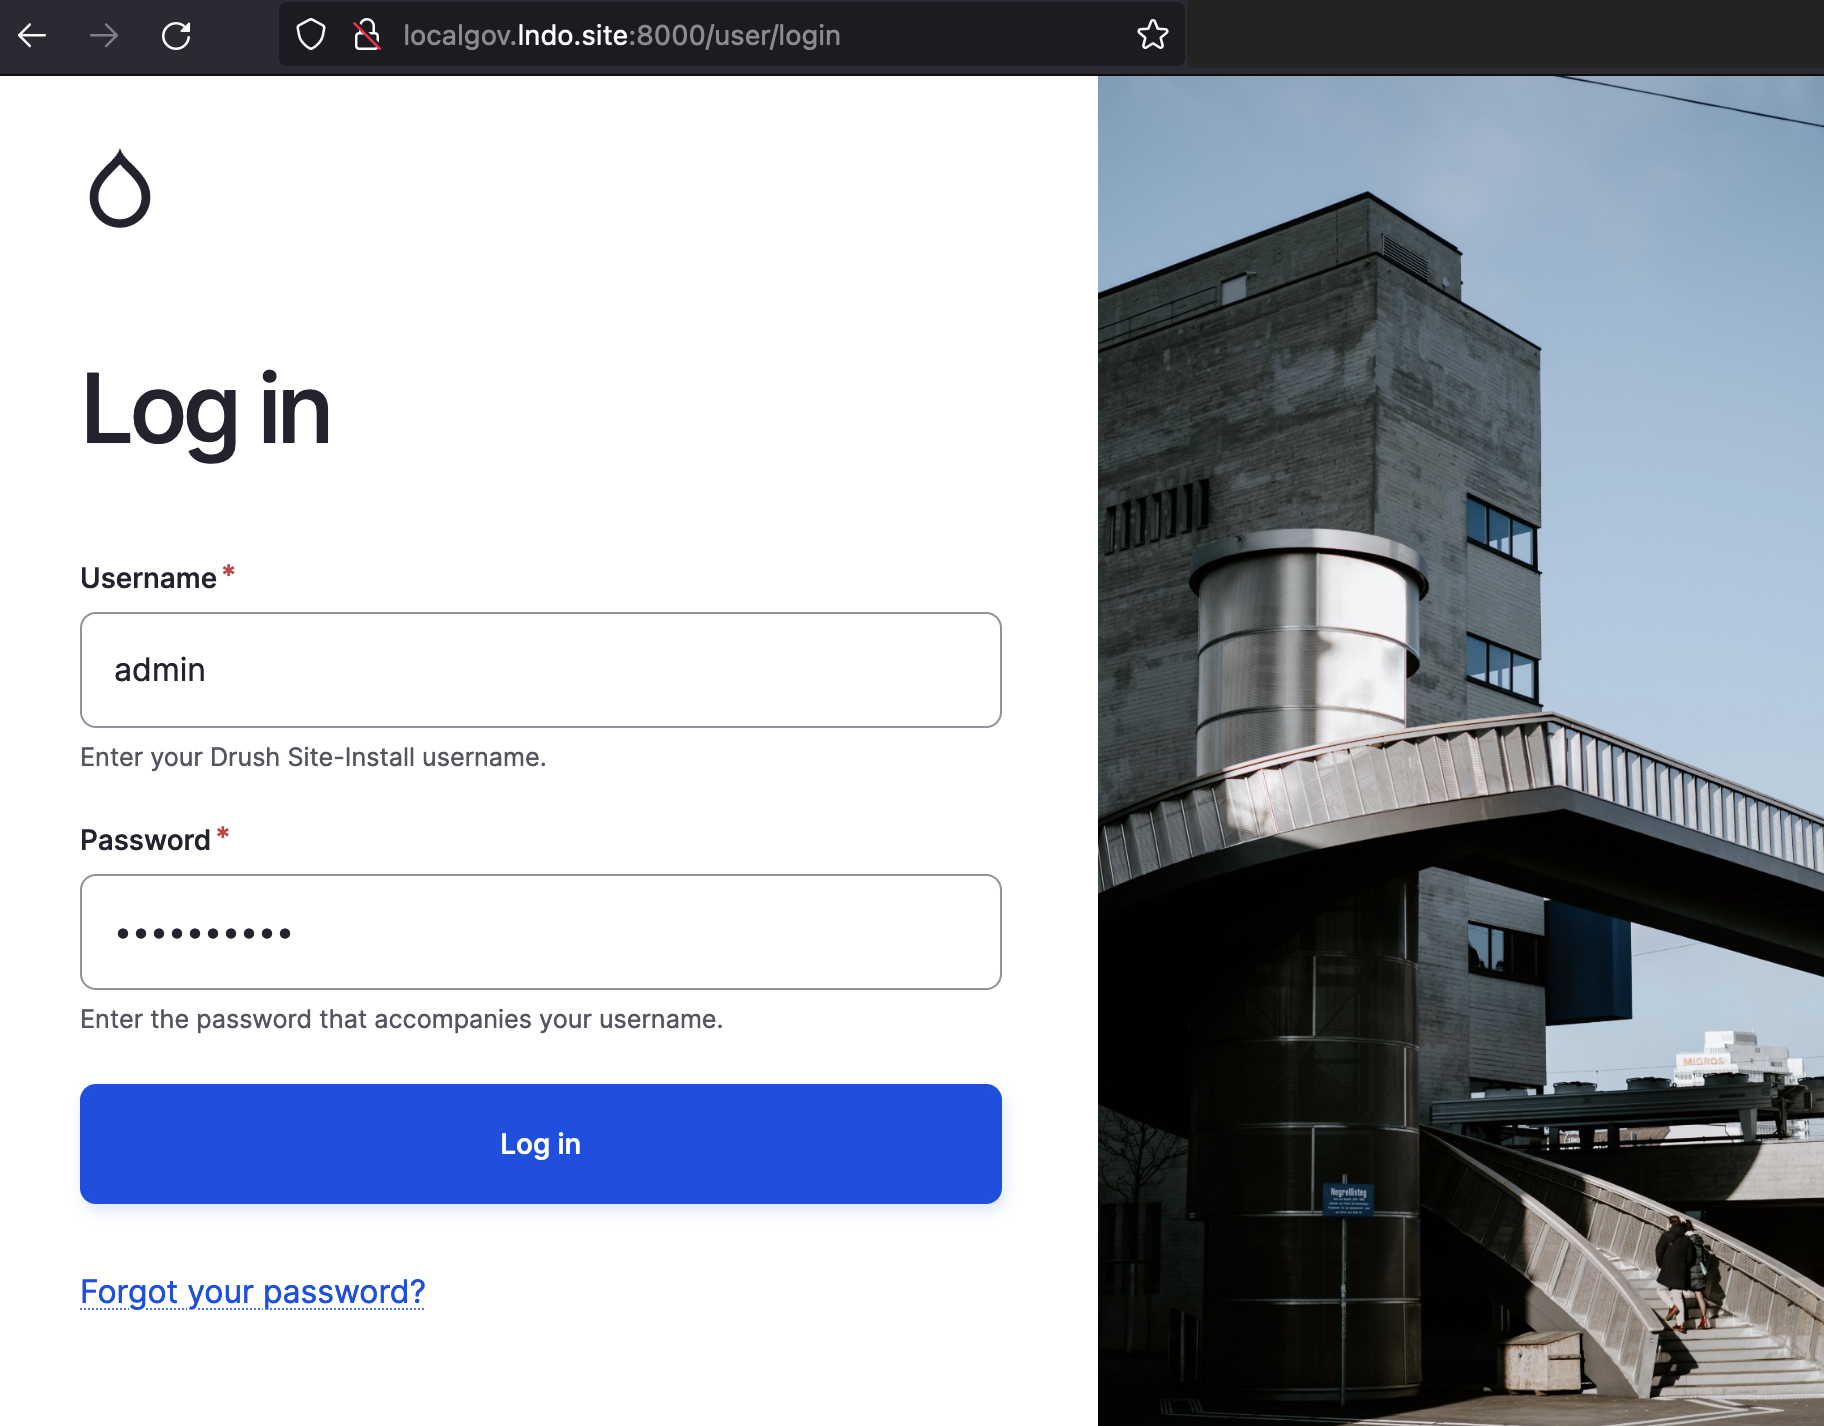
Believe it or not, our new LocalGov Drupal site is ready! Remember those APPSERVER URLs returned by lando start above? You can use any of them, and the returned credentials from the last command, to access your Drupal administrator account on your brand new LGD site on your favourite browser:
Logging into your admin account lands you on the Drupal content page:
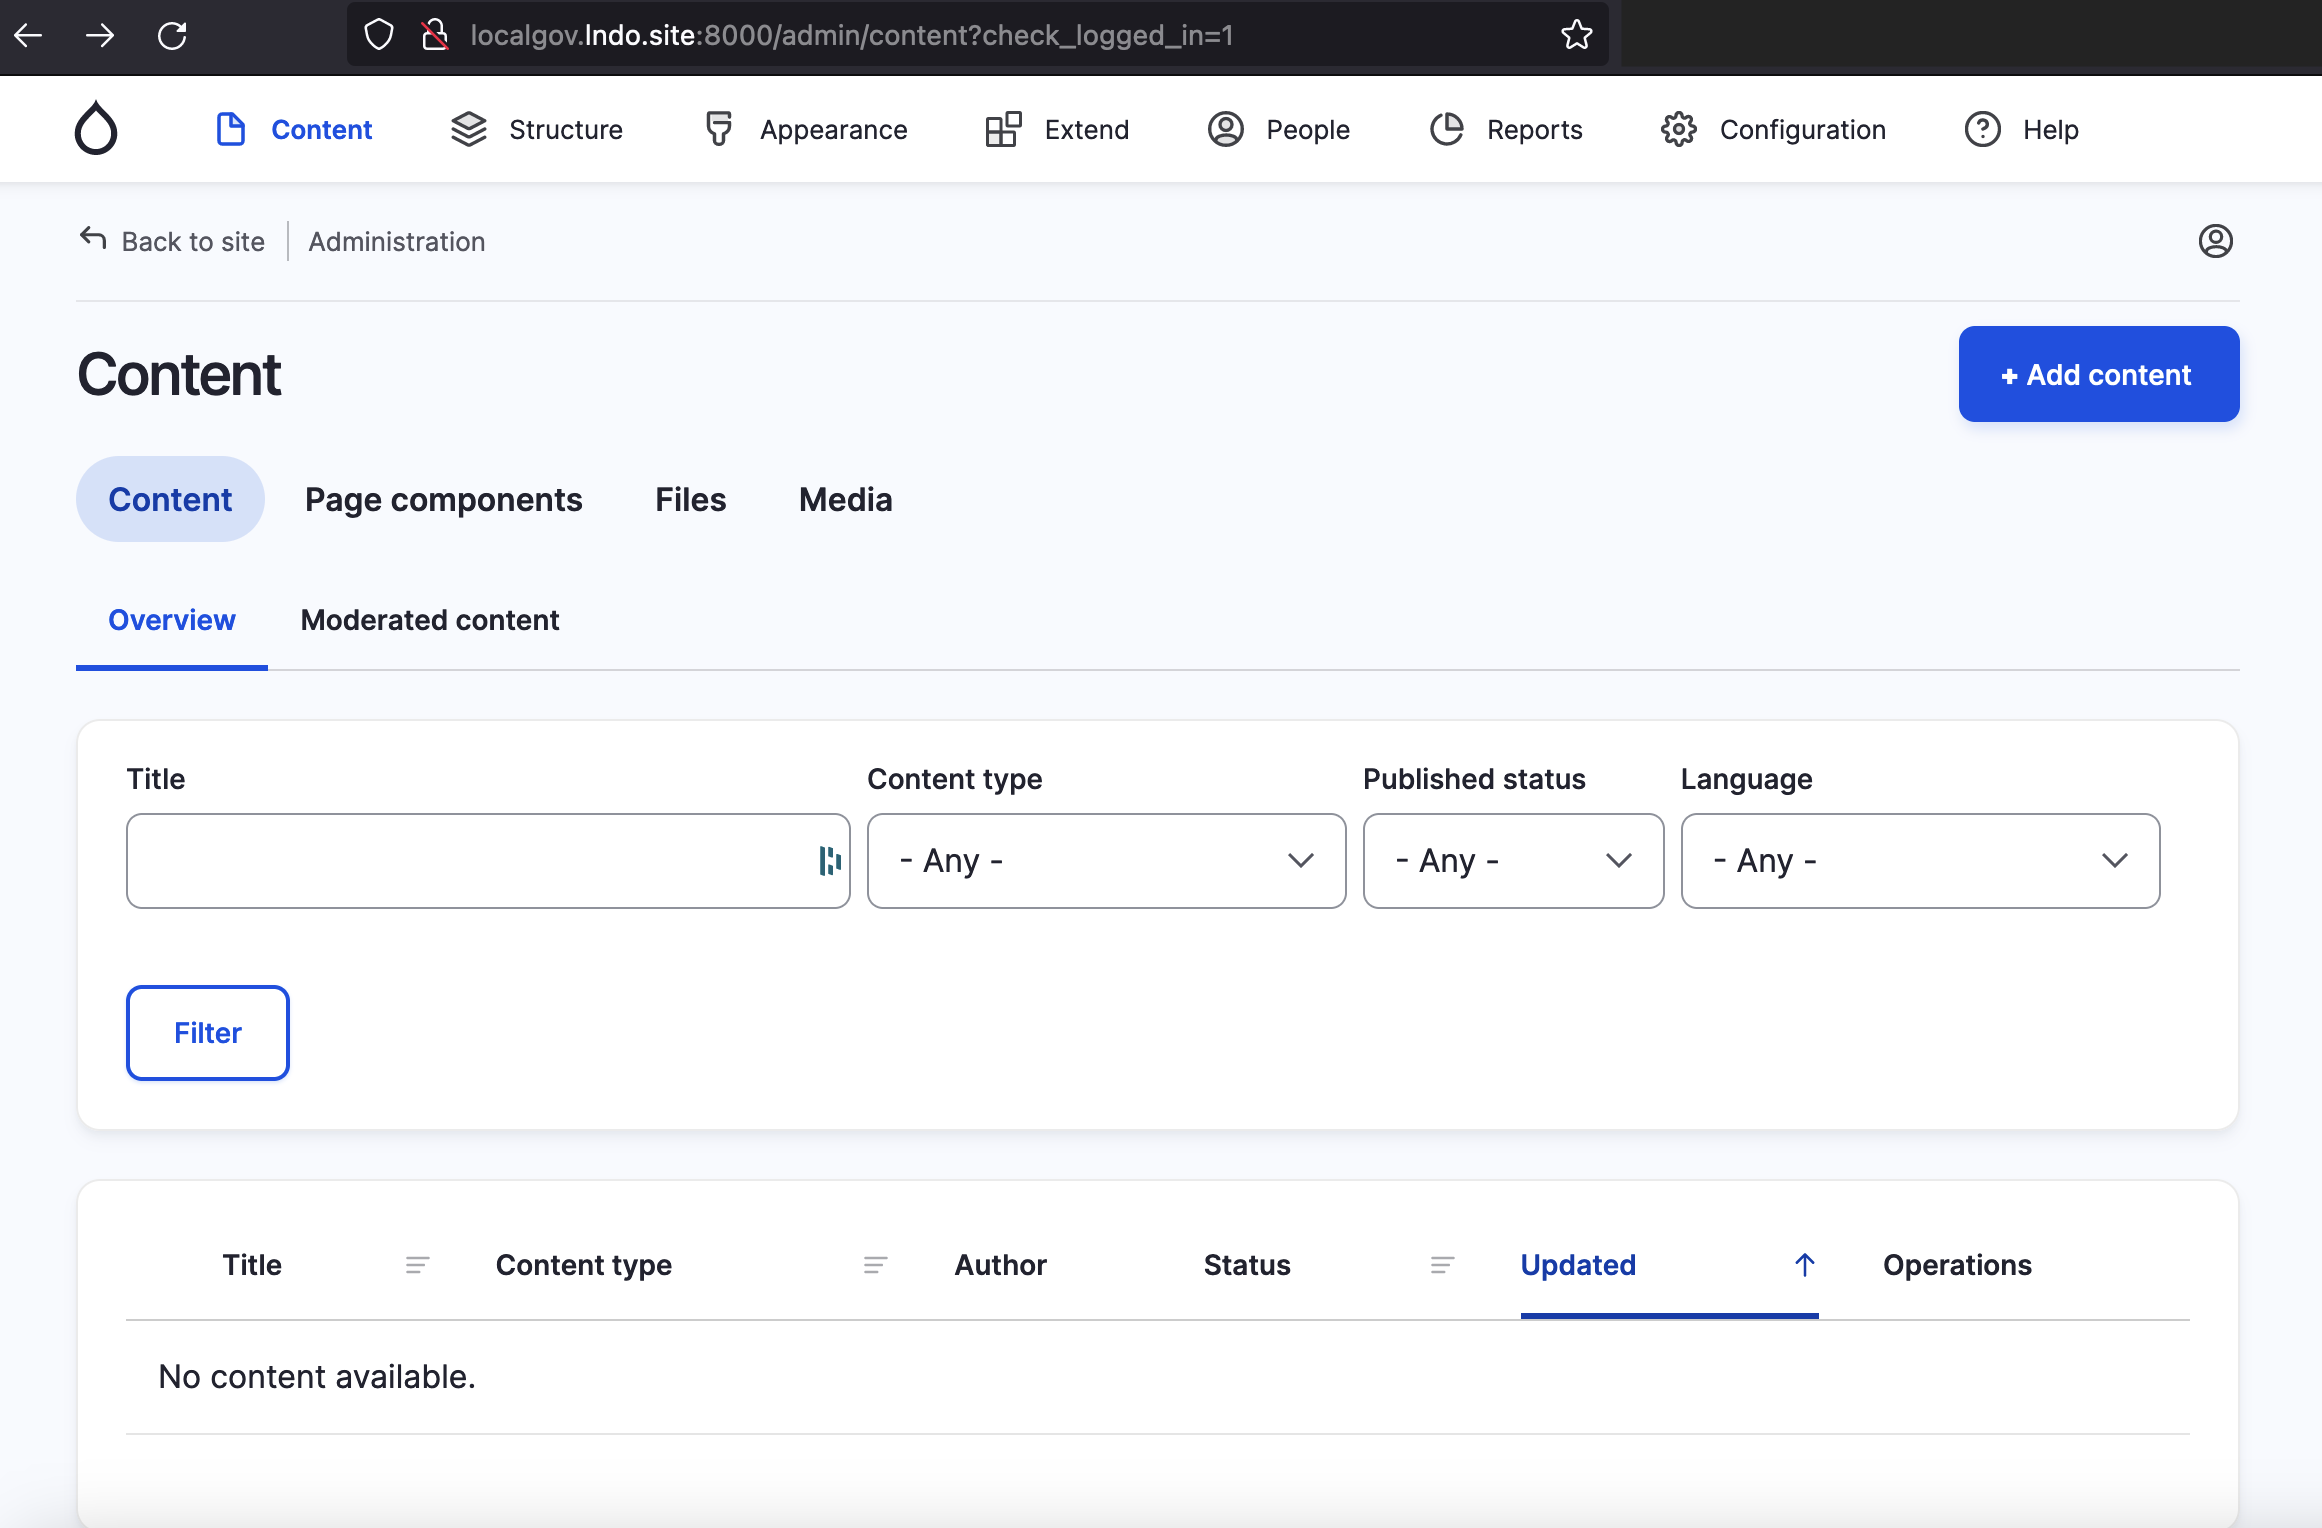
Your new LocalGov Drupal site is now up and running locally. From here, you can explore all the beautiful features LGD offers, such as content types, components and many more!
Additional Composer notes
If developing locally and you want to force composer to clone again from source rather than use composer cache, you can add the --no-cache flag.
lando composer create-project localgovdrupal/localgov-project MY_PROJECT --stability dev --no-cache --no-install
If you just want to pull in the latest changes to LocalGov Drupal run composer update with the --no-cache flag.
lando composer update --no-cache
If you want to be sure you are getting the latest commits when developing, clearing composer cache, deleting the folders and re-running composer update seems to be a solid approach:
rm -rf web/profiles/contrib/ web/modules/contrib/ web/themes/contrib/;
composer clear-cache; composer update --with-dependencies --no-cache;
lando start;
lando drush si localgov -y;
If you run into memory limit errors when running Composer commands, prefix the commands with COMPOSER_MEMORY_LIMIT=-1. For example, to install the project run:
COMPOSER_MEMORY_LIMIT=-1 composer create-project --stability dev localgovdrupal/localgov-project MY_PROJECT
In the main project we've provided a .lando.dist.yml file out of the box to make it easier to get started with the local development setup. Of course, you are free to use other alternatives to Lando (such as DDEV - please see here).
If you've never used Lando before you should read the basics; essentially it is a wrapper around Docker providing a much more simplified setup.
Usage
Assuming you've installed Lando and have it setup, the commands you will commonly use are
lando start - starts up the project from the .lando.yml file, if it's the first time it will pull the images and build the project
lando stop - halts the project
lando help - provides a full list of available commands, including custom commands
lando db-import file.sql - imports a database file, accepts gzipped databases
lando drush - custom command to run drush commands inside the appserver container
lando npm - custom command to run npm inside the node container
For a full list you can visit the official documentation.
Lando also has several guides for How-Tos, including using it with PhpStorm, VSCode and working with PHP.
Configuration
If your project contains a .lando.dist.yml it's meant for that file to be overrideable. In fact you can have multiple layers of configuration so that you can override them with your own config for local development for example.
If you're looking for more configuration options the Lando docs are the best place to find them, here's a useful list:
Tooling (aka custom commands)
Extending
In your .lando.yml you can continue adding other services for any Python, Solr, Node or database containers your project will need in addition to the defaults. Most Drupal installations are setup with a recipe that simply provides some sensible defaults, but you also have a full list of services you can add. Of course you can also add specific images.
Coding standards
PHP CodeSniffer is installed as a dev dependency by Composer and configured to use Drupal coding standards and best practices. It is a good idea to run these before committing any code. All code in pull requests should pass all CodeSniffer tests.
To check code using Lando run:
lando phpcs
To attempt to automatically fix coding errors in Lando run:
lando phix
Running tests
The included phpunit.xml.dist file contains configuration for automatically running the LocalGov Drupal test suite.
To run all LocalGov Drupal tests with Lando use:
lando phpunit
To run all the tests for a specific module use:
lando phpunit web/modules/contrib/localgov_my_module
Tests can be filtered using the --filter option. To only run a specific test use:
lando phpunit --filter=myTestName